Hello Folks~
This has been the most intense build for Heels and a Hammer to date! It has been a challenge, a joy, and a great learning experience. And I can say that virtually I am done with it, and it is the Play House!
This project started to come to flourish in my mind late winter – start of spring 2016. I then of course started to draw up the concept, scale it out, make a list of all materials needed and then priced it out… Ok scratch that design now we’re on to something new. I had done this process several times, especially the figuring out how much materials needed part with different sizes, until I came to a conclusion of a good size playhouse,8′ x 8′ overall with the house being 8′ x 6′. This playhouse was feasible for me to build, and one that wasn’t going to make us go broke!
First Things First~
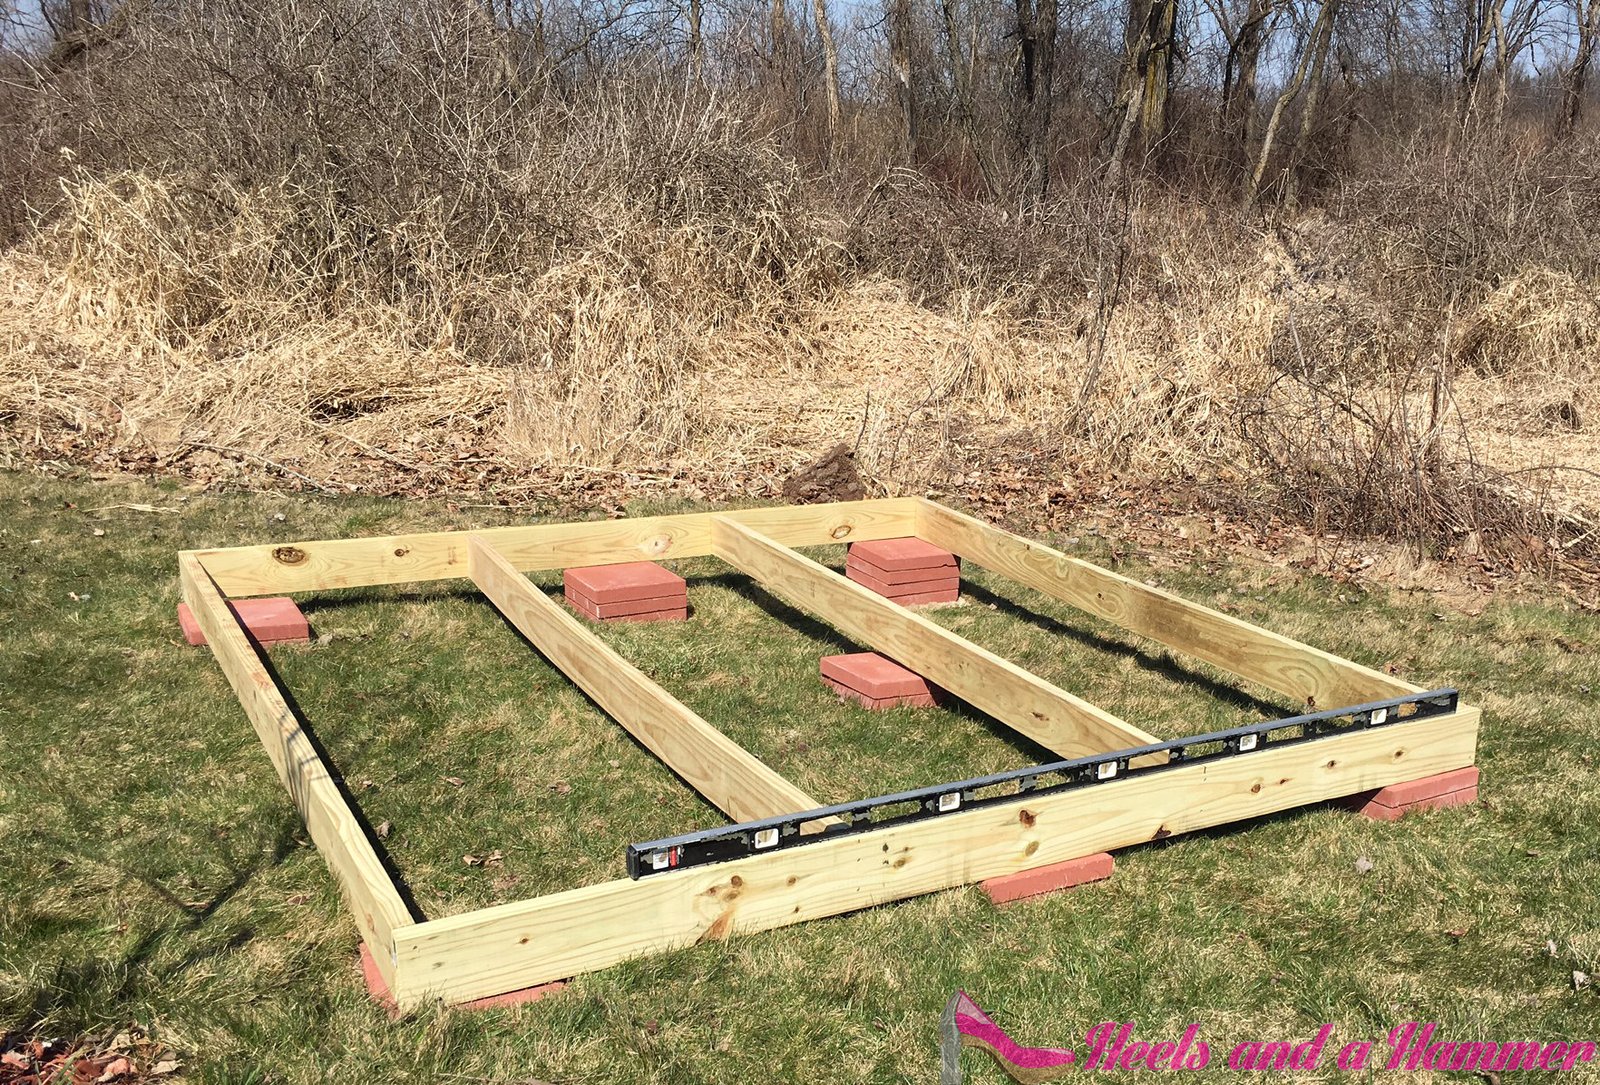
Here is the first picture of the start of the playhouse. So first thing I did was laid out the pavers in where I wanted the playhouse’s foundation to be. Then I dug out the grass below them and added sand underneath each paver. Here was the first frustration point and I was thinking, boy if this is how this build is going to go I’m in big trouble!! Well my father-in-law came in at this point and gave me the idea to put the joists on the pavers and go from their with leveling! This was a big time headache saver! At this point leveling was a breeze… just add a little sand under the pavers a little here and then remove a little there.
All Decked Out~
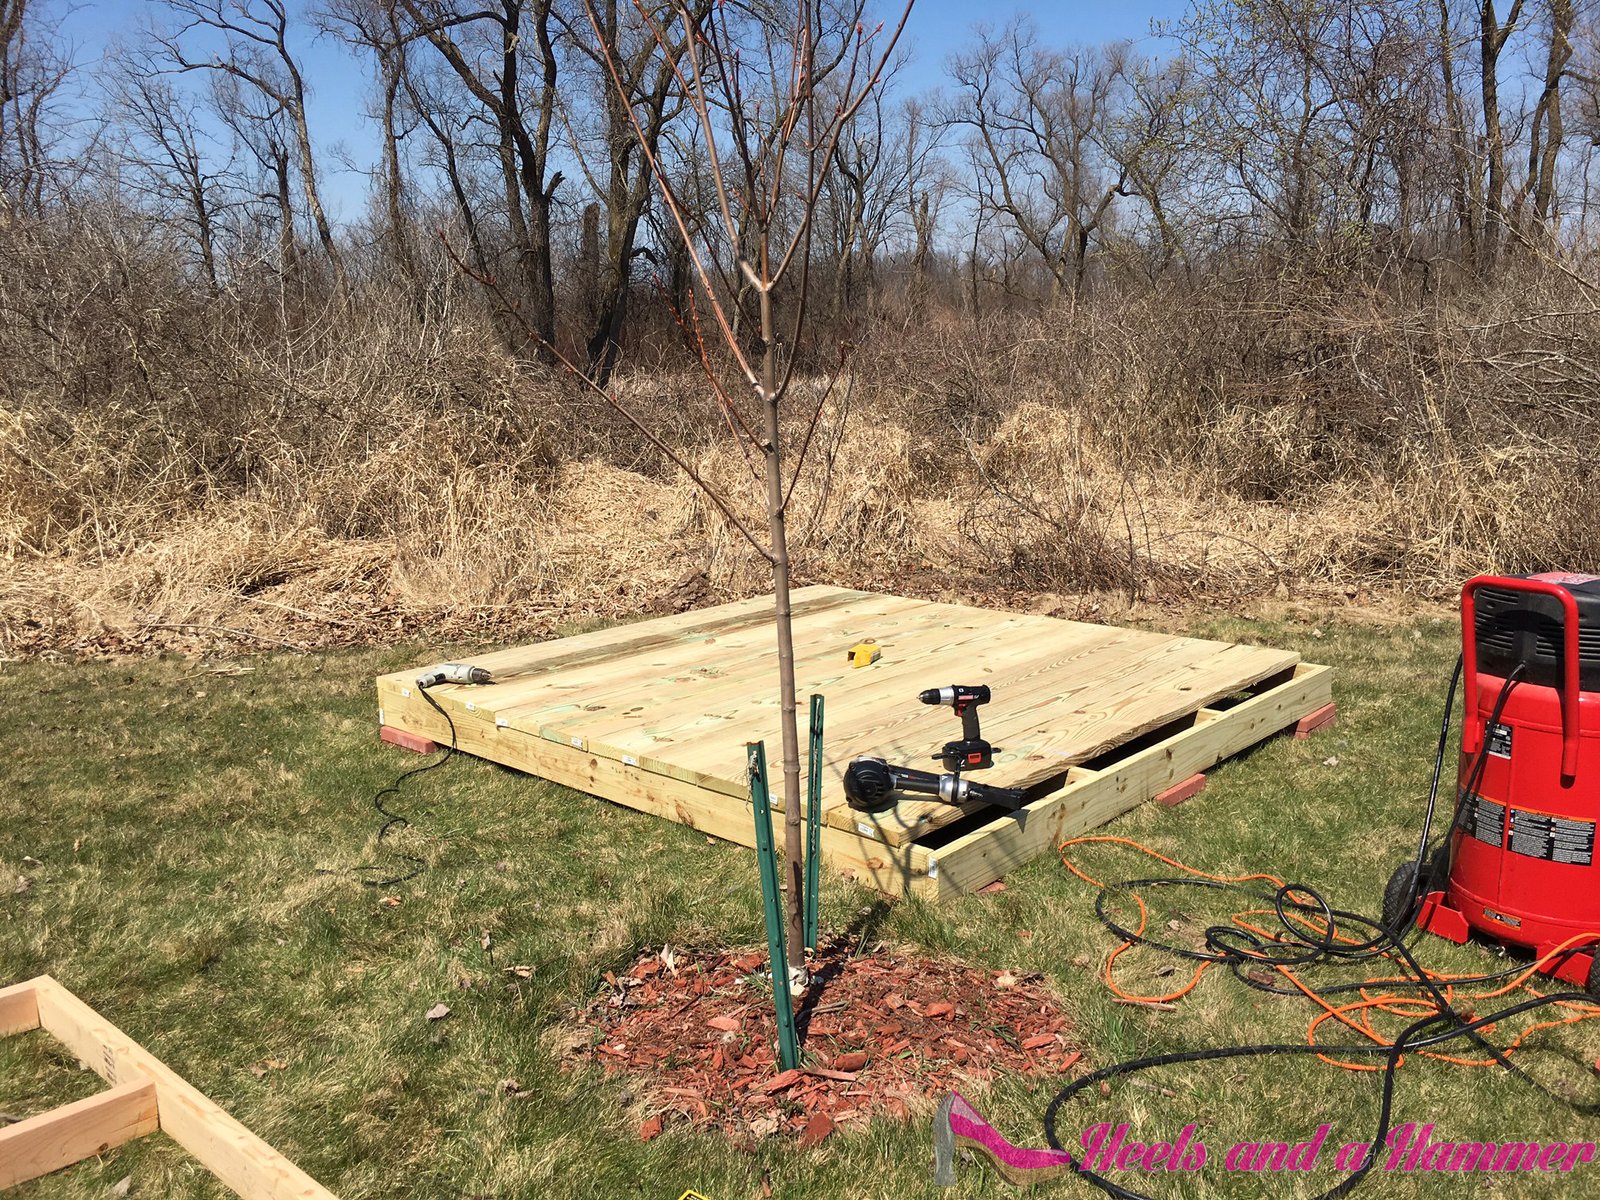
After the base was squared up and the leveled the next step was a piece of cake! So the treated deck boards were the perfect length where we didn’t have to do any cutting before screwing down. So we just laid all the deck boards down and happen to be about 6″ shy. Of course! Next step to ensure we were screwing in the deck screws in a straight line we snapped a chalk line along the center joists. Then my Father-in-law and son helped screw down the deck boards.
Hey There Stud~
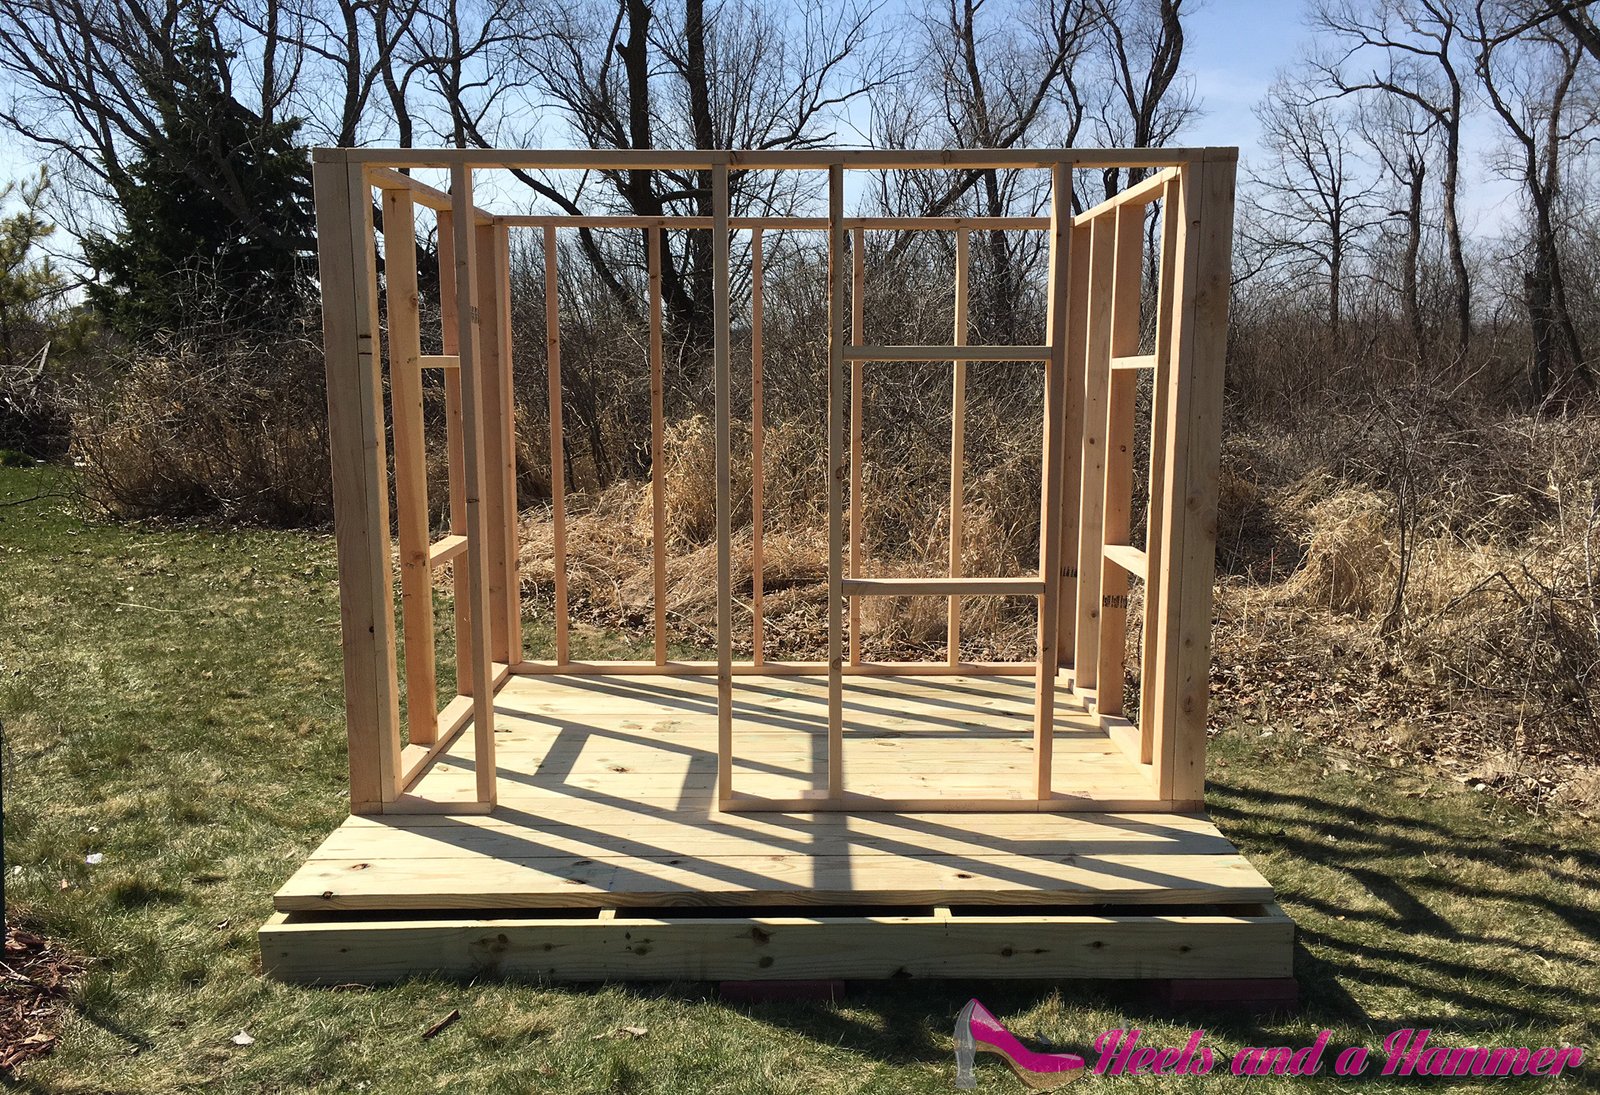
So the next step was to measure and cut all the 2′ x 4′ studs for the walls. I started pre-cutting while my father-in-law, lets call him Kevin, and son screwed down the deck. This was fairly easy as well. The studs were cut to have an overall height of 6′. Each wall is set up for a 2′ x 2′ window with the 24″ door having an overall height of 6′.
Topped off~
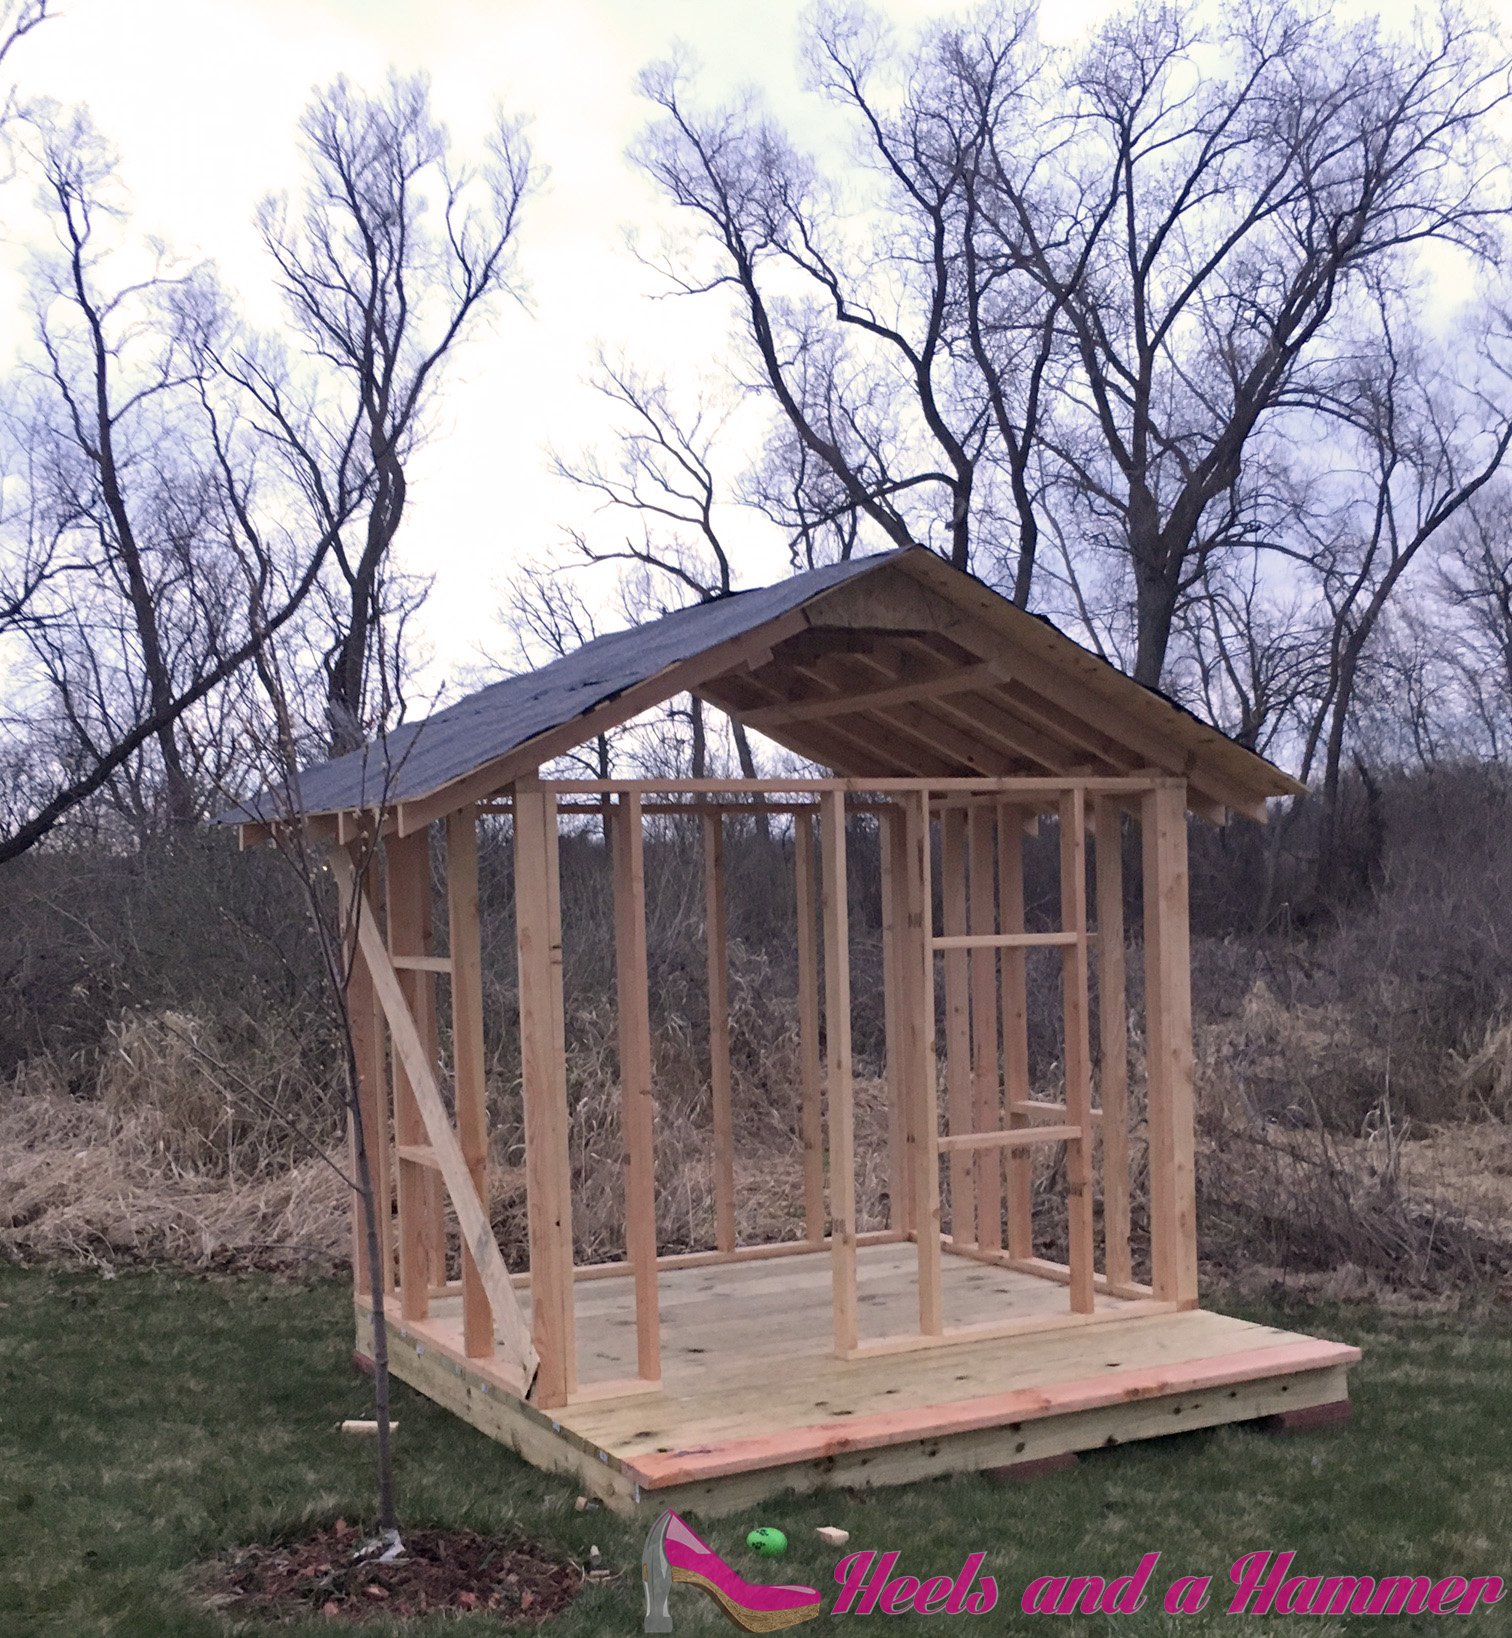
The next step was to cut and assemble the roof trusses. I did a little calculation in Illustrator to find out what angle I needed to cut the trusses in order to have my 8′ overall height. I came up with 25 degree… or was it 35? Well, at any rate it came up to be 8′ overall height. I used some cut down plywood and wood glue to reinforce the trusses at the peaks. Next step was to secure them down to the wall tops, making sure they ran 16″ on center. Along with the plywood peak pieces, we also ran a 2′ x 4′ along the inside of the trusses to give additional support. Once this part was done I put down the plywood sheathing on the roof with just a 2″ x 4′ section cut out of the peak for the roof vent. I did this in the event that when the kids no longer want to play in the playhouse I may insulate it and make it a she-shed for year-round use.
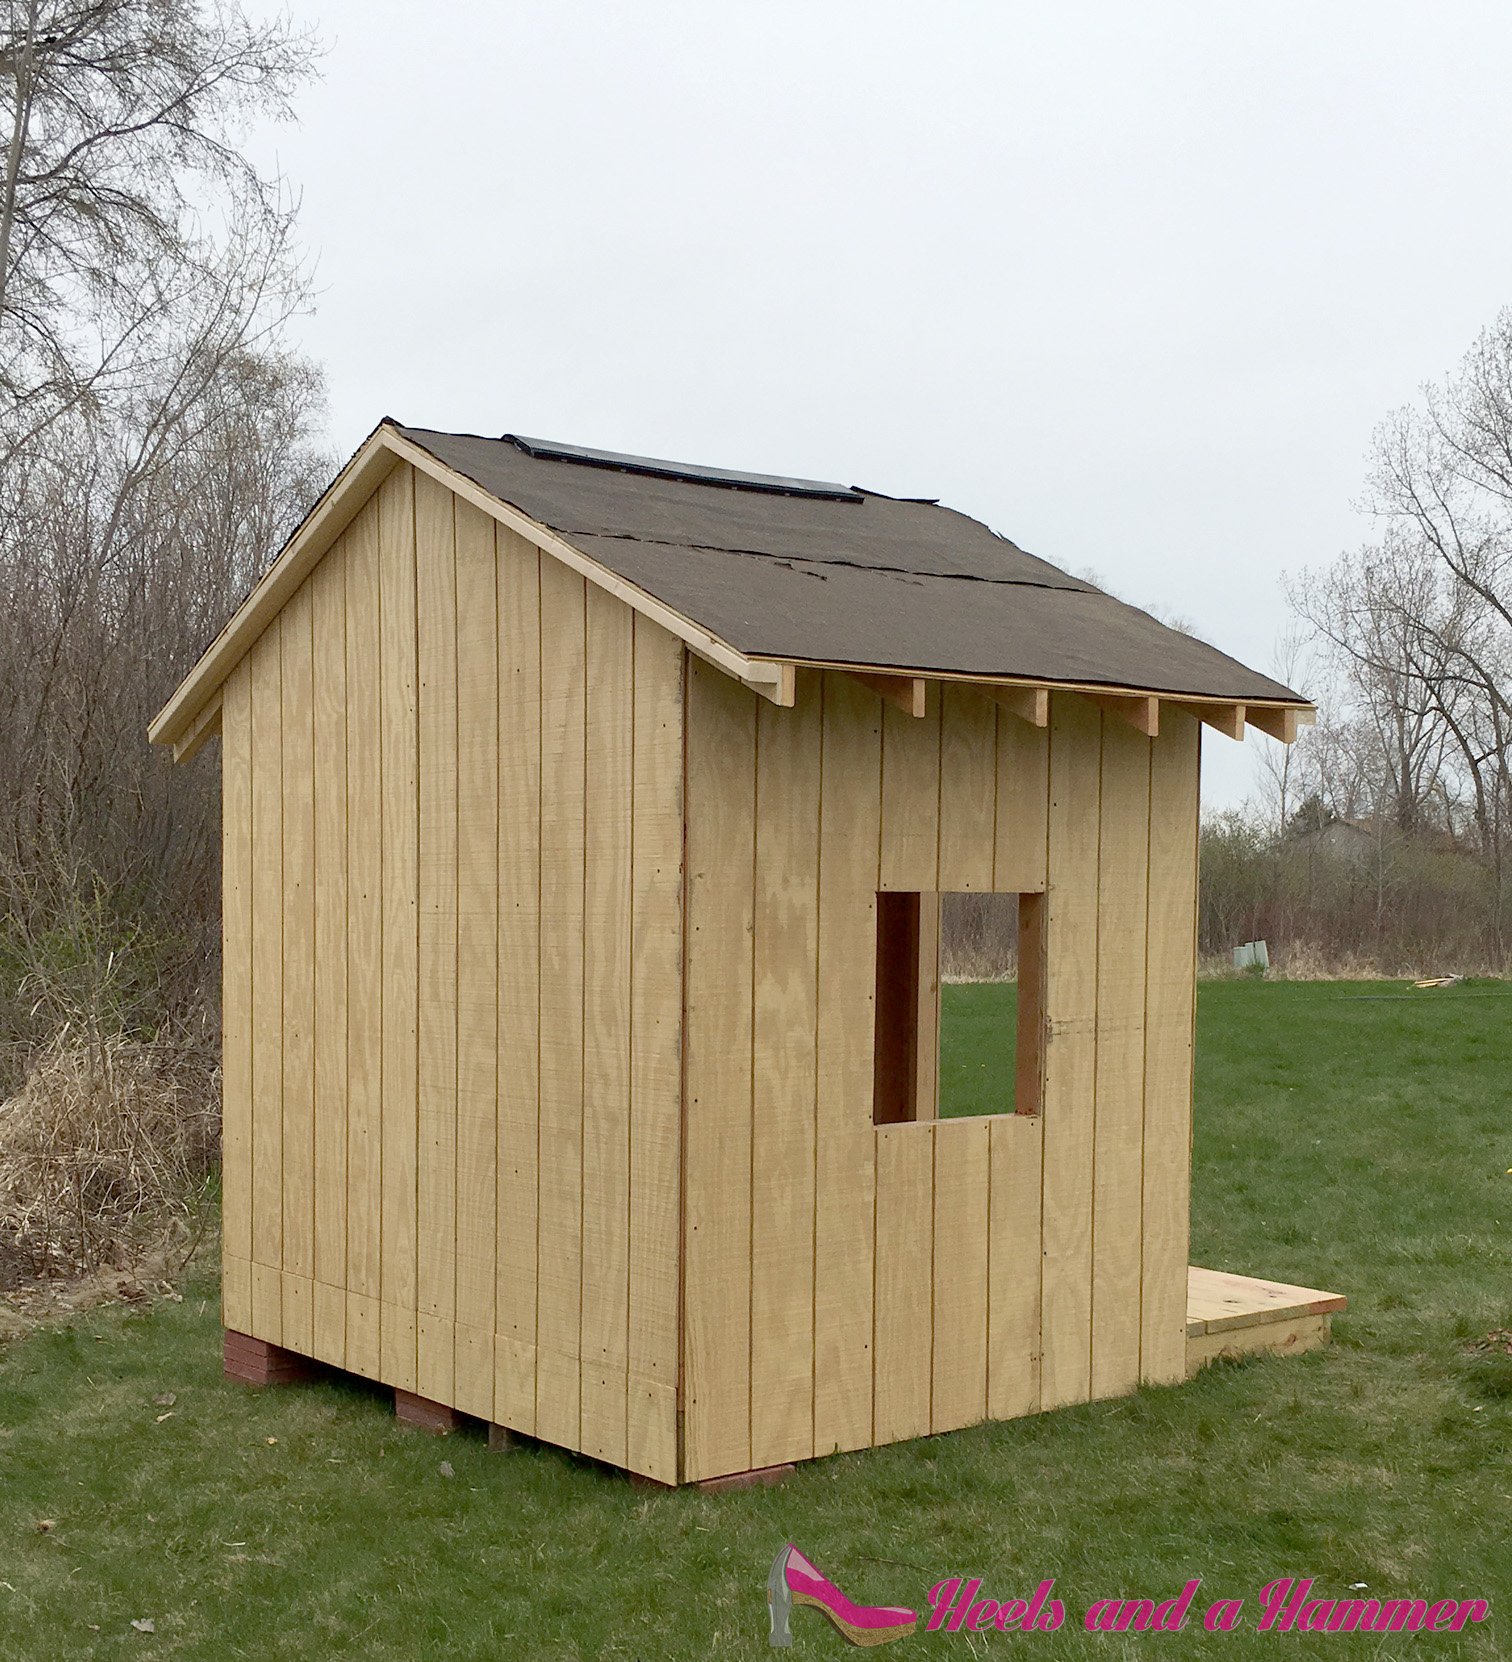
The next step was to tack down the roofing paper. I ended up just using my staple gun rather than buying a tack hammer. Then I went back, and this may seem backwards, and cut the roof sheathing to only overhang 4″ on front and back.
The next weekend’s work consists of installing the walls. I purchased 19/32 in. x 12″, (overall 4′ x 8′) Radiant Barrier Plywood Siding, this was going to be my most bang for my buck. This material is weather resistance and low maintenance, and I didn’t have to install any additional exterior siding to protect the plywood like vinyl siding or cedar shake. Once the walls were up, window holes cut out, and door holes cut out the playhouse felt sturdy enough for me to climb up on and get to roofing.
Stuck in the Middle~
*From this point on in the job I am on my own, but it’s cool… I got this!*
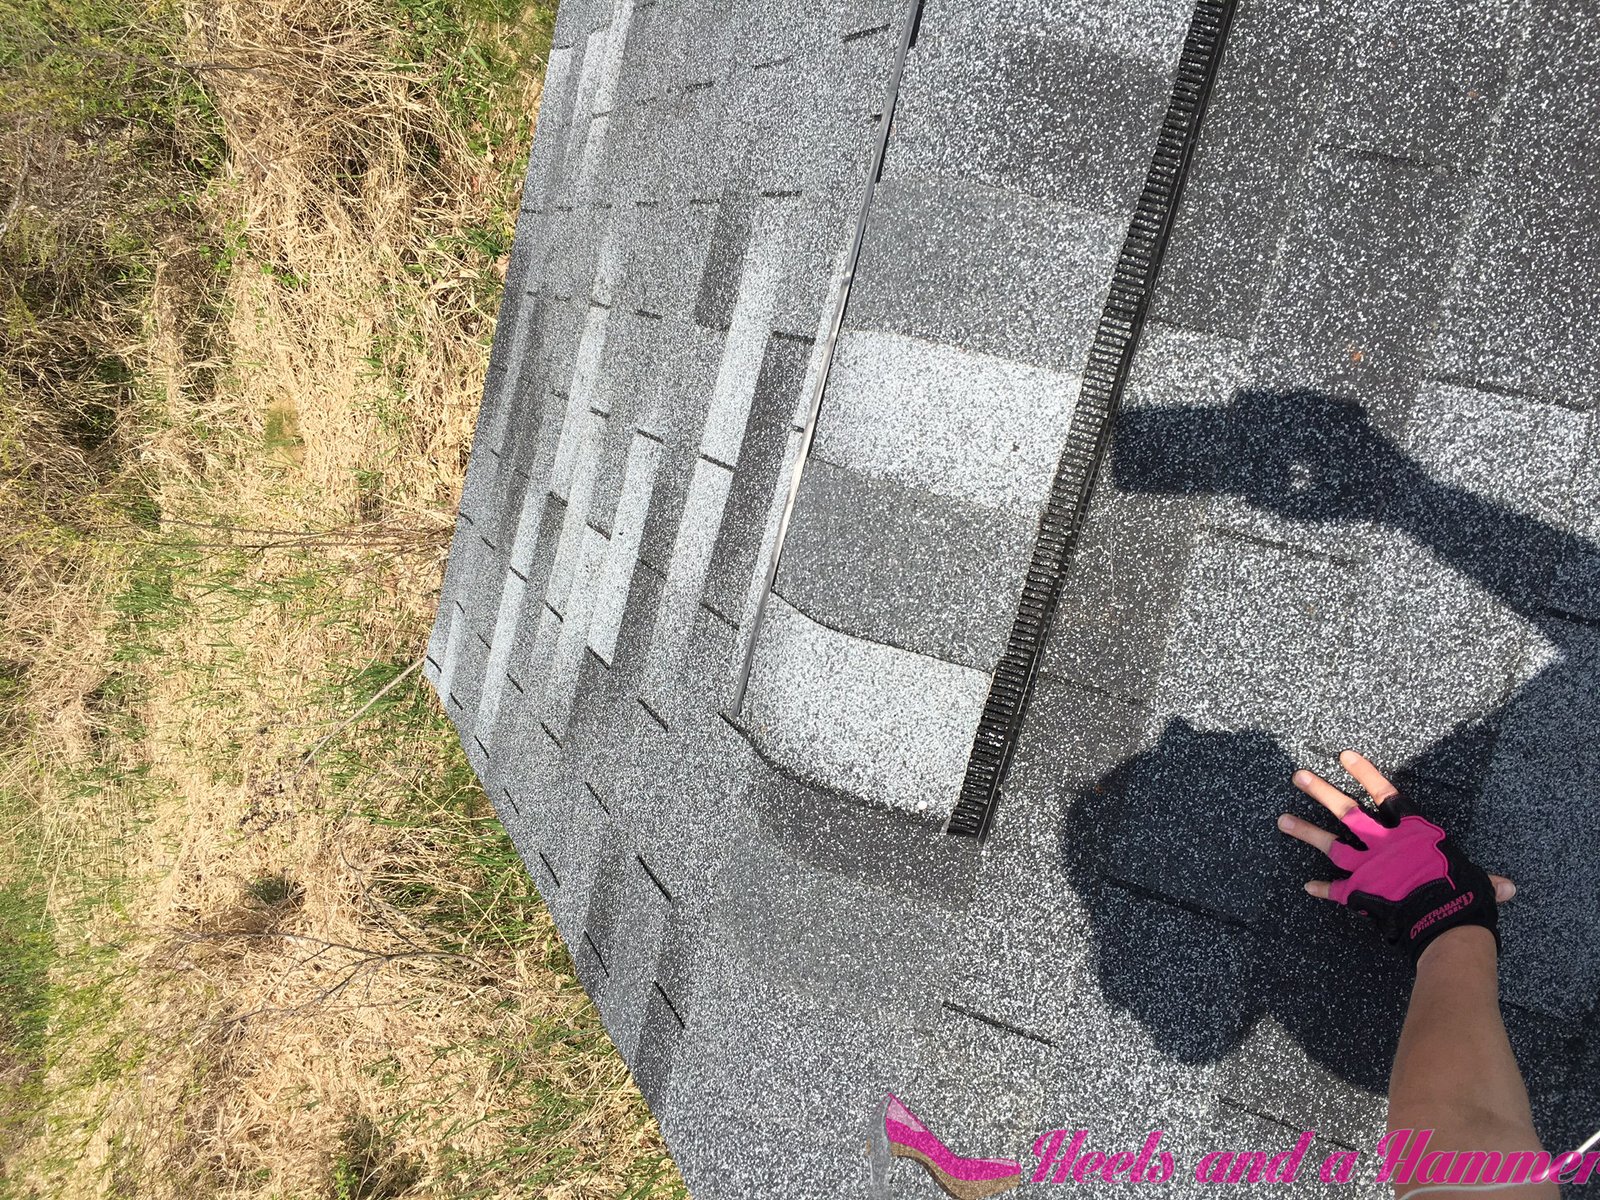
So there obviously is a lot of little busy work when building something like this, especially when you do it like I did. Some of the stuff completed before I roofed was to A. remove the vent cap because this goes on after the roof shingles are nearly completely on… and B, I added some 2 x 4’s under the exterior peaks to reinforce the ends so snow weighing it down doesn’t end up bowing that part over. After the 2′ x 4’s were attached I cut some 1″ x 4″ strips to cover the exposed ends of the trusses and attached the aluminum drip edging to protect water from just sitting on the wood and running down it constantly. I was able to easily cut and bend the aluminum drip edge with a wire cutter.
Beginners Luck~
I had never done a roof before but I always had wanted to since I do remember being on the roof at my Grandma’s farm when I was little and was so intrigued by the work being done. It looked like fun… now 20 some years later I found out, it was fun!
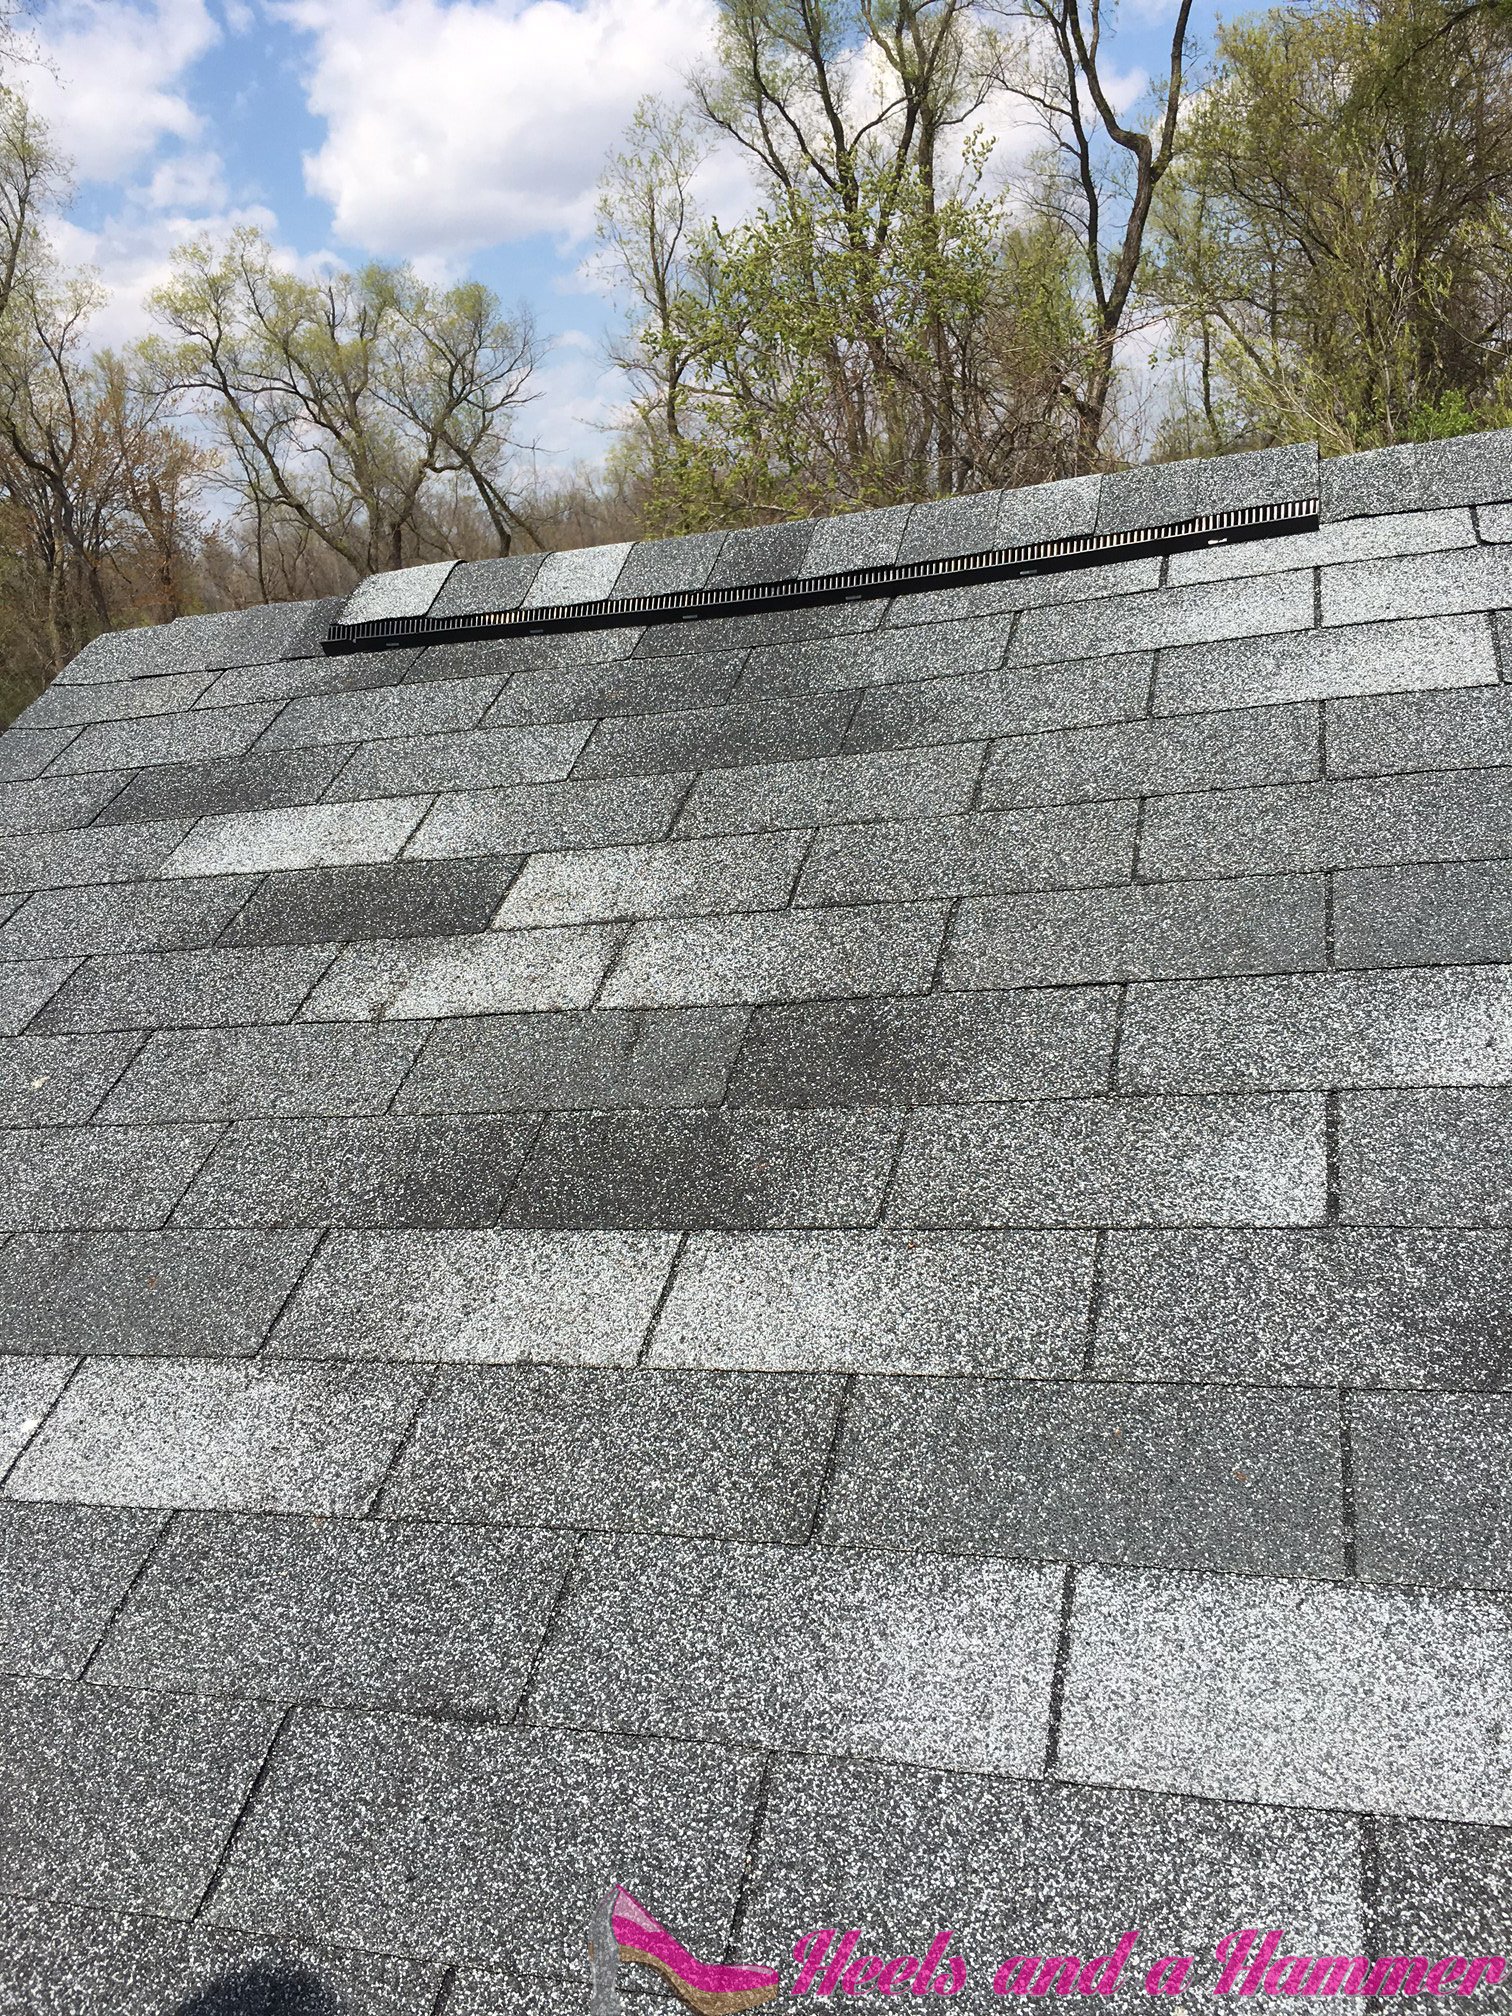
I actually thought I knew what I was doing since I can generally figure things out without researching, but with the shingles I ended up having to remove the first layer on the first side. I knew something was wrong when I could see the roofing paper with the shingles down… So I went to Youtube and learned that you are supposed to lay the first row upside down and your second row goes right on top. Here is the video link from PrepItForward. Not the actual video I watched but a great quick tutorial. https://www.youtube.com/watch?v=FlD5f7rsI44
I also had to go to my favorite DIY store Home Depot to get some special blades for my utility knife that have a hook for cutting shingles. Laying shingles took me two days to complete between kids, eating, and just needing a break.
3 tab shingles have a nice notch in them for a guide system. You simply lay the first shingle where the notches line up with the edge and work your way across the roof and I just went back and forth in a zig-zag pattern. When I got nearly completed to the top I screwed the roof vent back on, cut some 3-tab shingles down to be the hip shingles. And voila you have a roof!
Knock Knock~
After the house was assembled came all the detail stuff, but first we must have a door. I ended up purchasing a door from TheRestore in town that cost me $7.00 and change and just cut the bottom off on my table saw to have it be the right fit. Once it was cut down I found some scrap quarter inch board that I had used on my All Dresser-ed Up project and covered the bottom of the door with it since it was a hollow core door. I know this isn’t the best practice for an exterior door but in my defense it is a playhouse and the door was $7… I can always buy another one in 5 years and I still won’t be spending the kind of money necessary to have an exterior door. (Everything else on the playhouse is exterior grade) I am just hoping that the exterior paint helps the door sustain the elements.
Check~
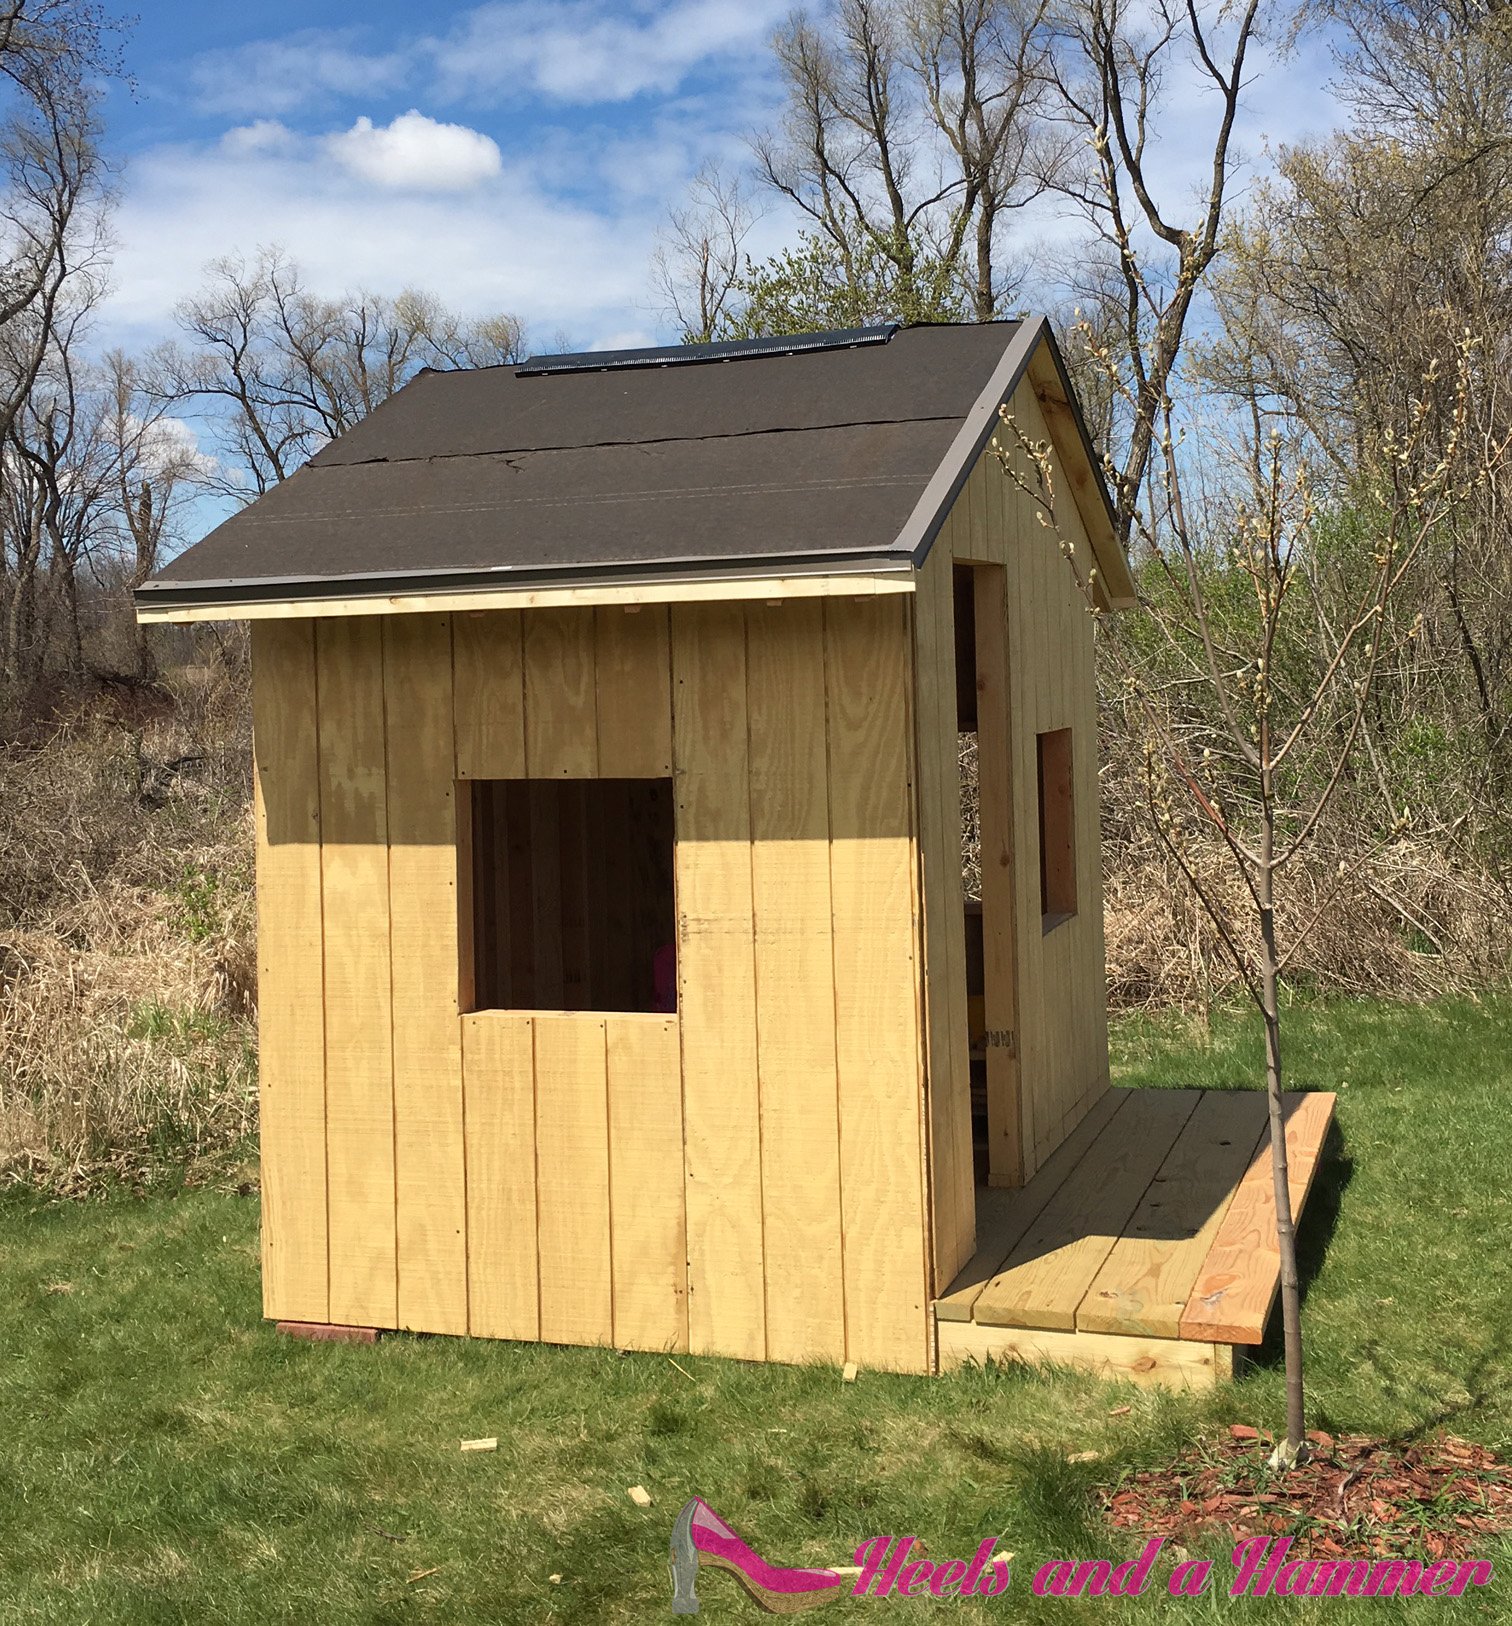
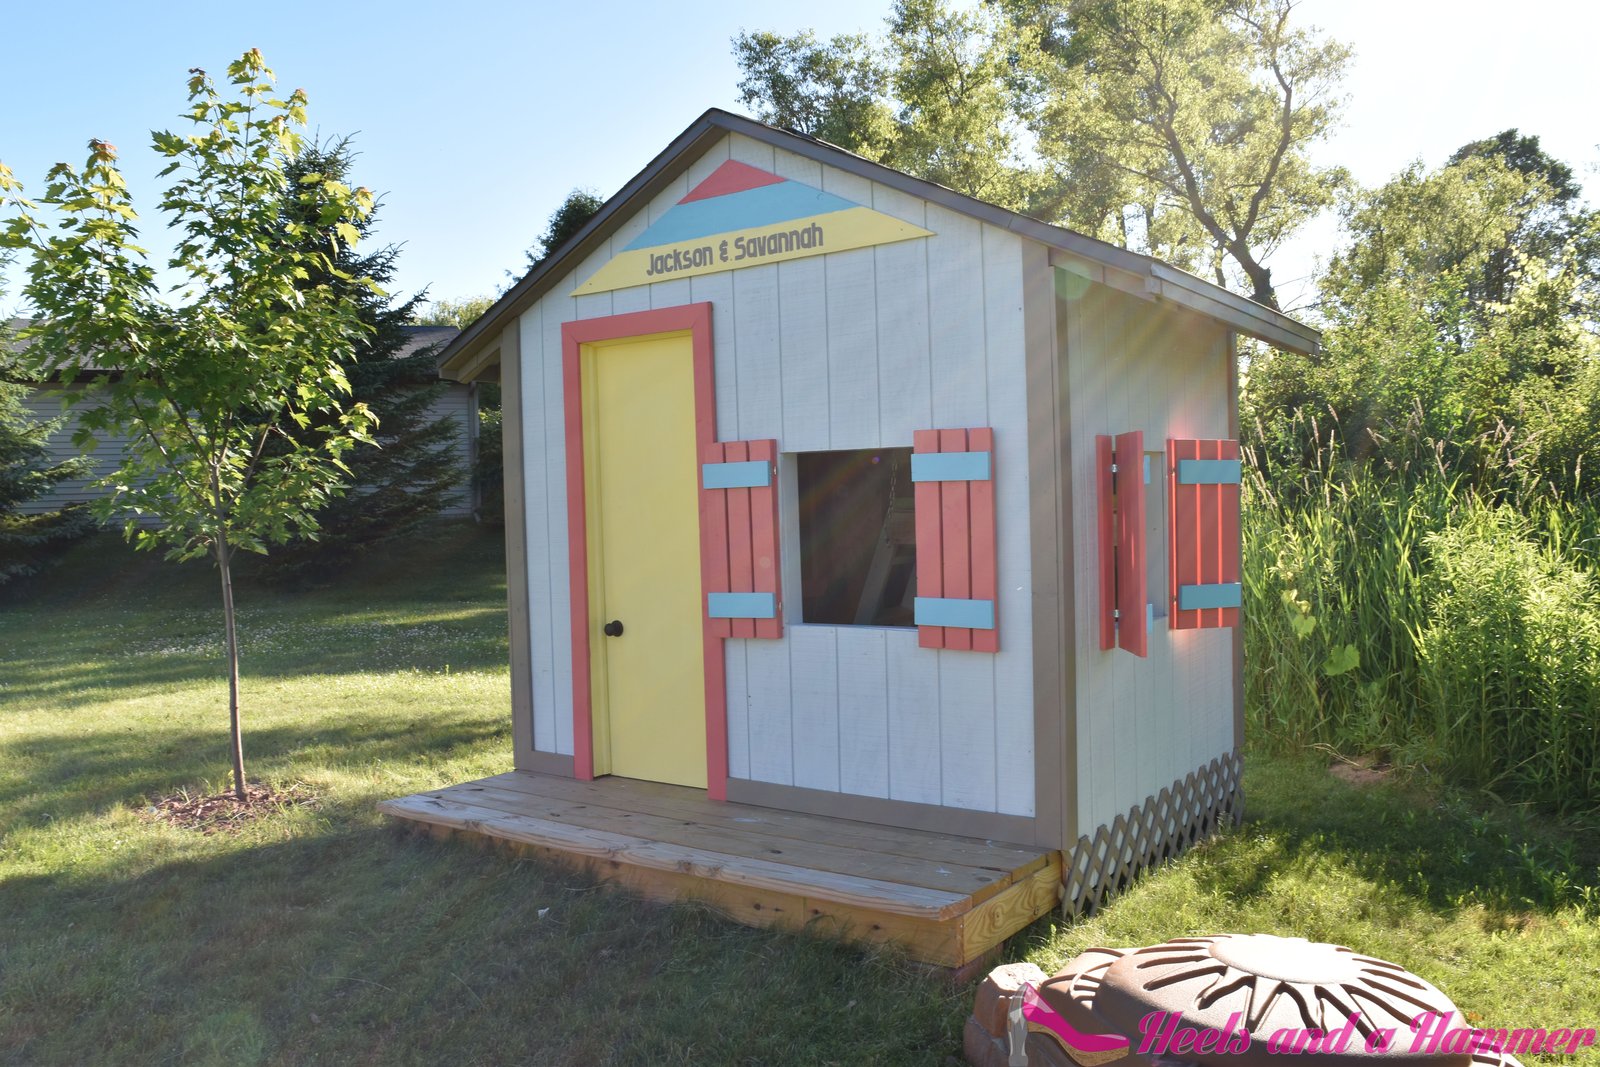
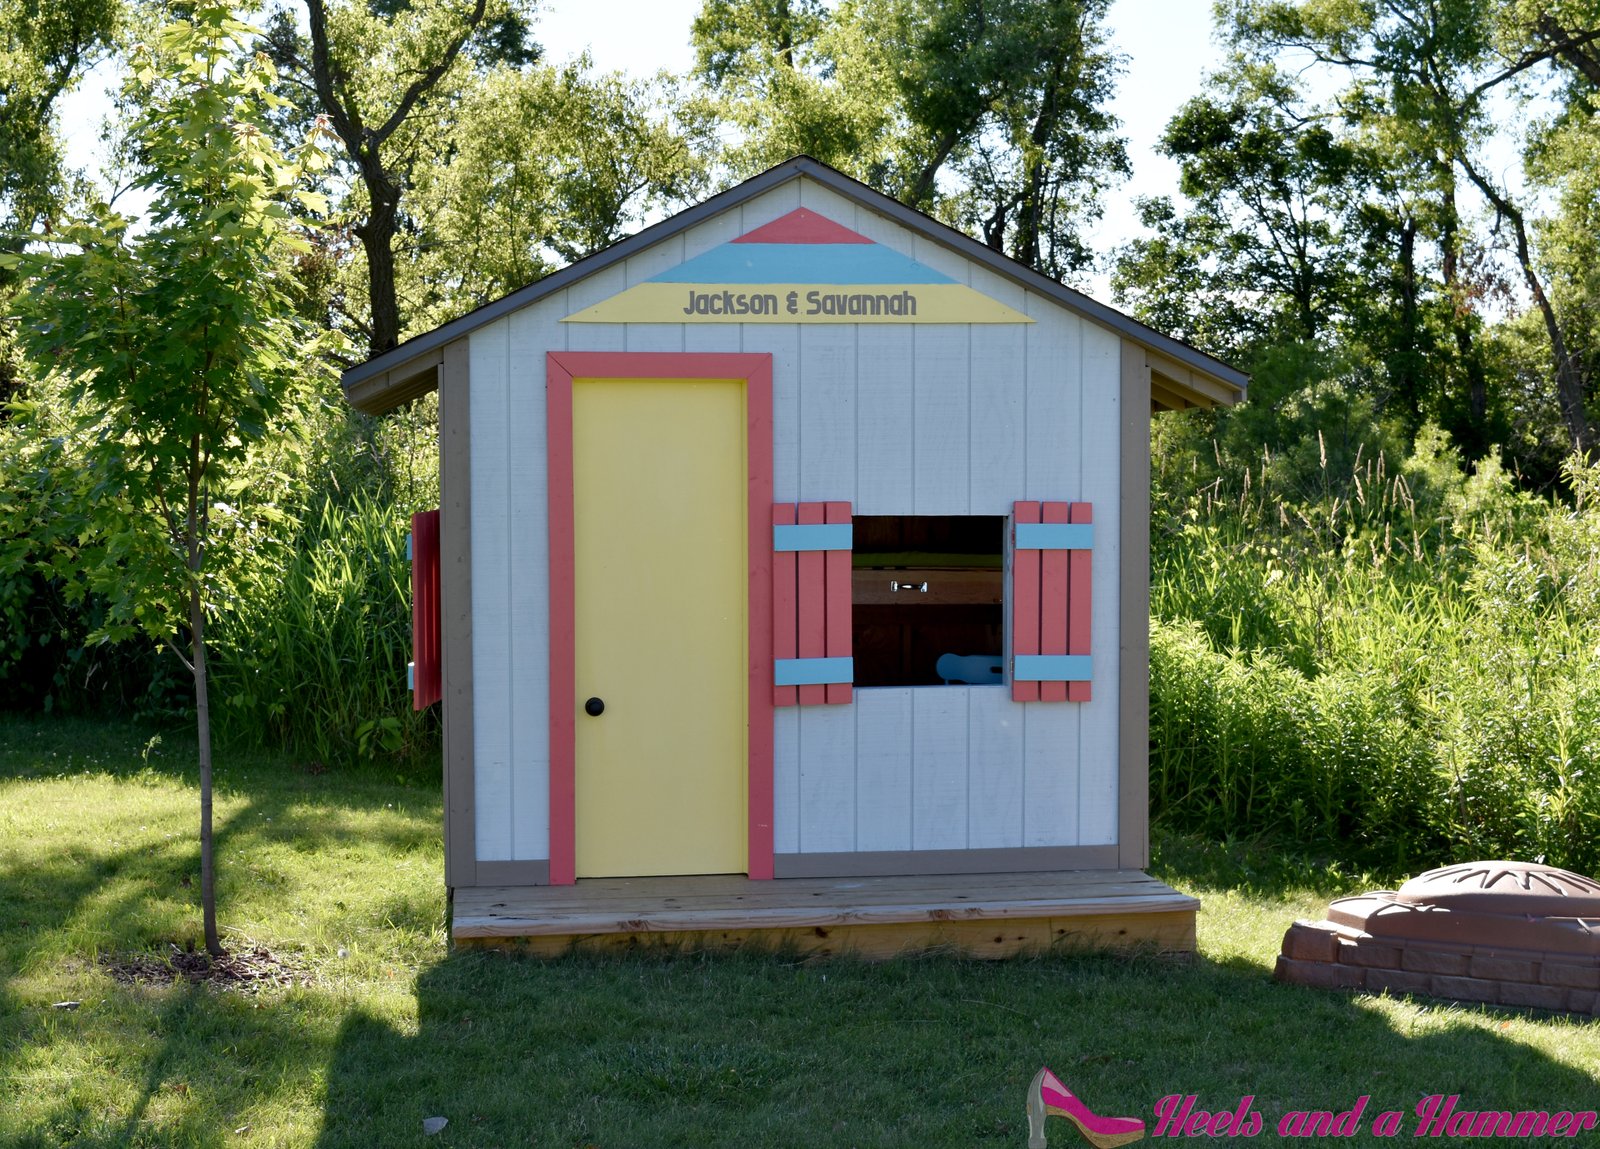
Deck down, Check. Walls up, check. Roof on, Check. Walls on, check, door installed, check. What’s next… Paint! At this stage I painted the whole exterior of the house. Once the exterior was painted I started to cut down the shutters. Now mind you, here is another point in the build that I was completely frustrated. I had designed the shutters to be the width of the window opening but didn’t take into consideration how they were going to open and close with the shutters being attached directly to the house and the cross (blue) pieces being in the way… Grr! So my husband and I came up with a plan. I needed to cut additional pieces that were the same height as the coral sections, rip down the shutters because they were too wide, and use the bracket to attach the two together; the shutter and the additional 1 x 4″ strip. Then all I had to do was us my nail gun and nail it to the house. Simple right?! I hope that all made sense…
The next stage in the build was to attach the trim around the doorway and cut, paint and install the beige/gray trim around the exterior of the playhouse.
After this step I proceeded to touch up paint around the entire playhouse. I painted the exposed truss sections, the door needed some touch up, and so did the shutters. At this point the exterior of the playhouse looks just about done. I did however buy 2 sections of 2′ x 8′ lattice, trimmed it down, painted it and nailed it around the perimeter of the playhouse. I initially just did this because on the back side there is quite a big gap between the ground and the base of the playhouse and I didn’t want anyone crawling underneath and, God forbid, getting seriously injured or stuck. However, I’m also glad I did if for the aesthetic aspect. It looks nice and finished.
One Man’s Trash~
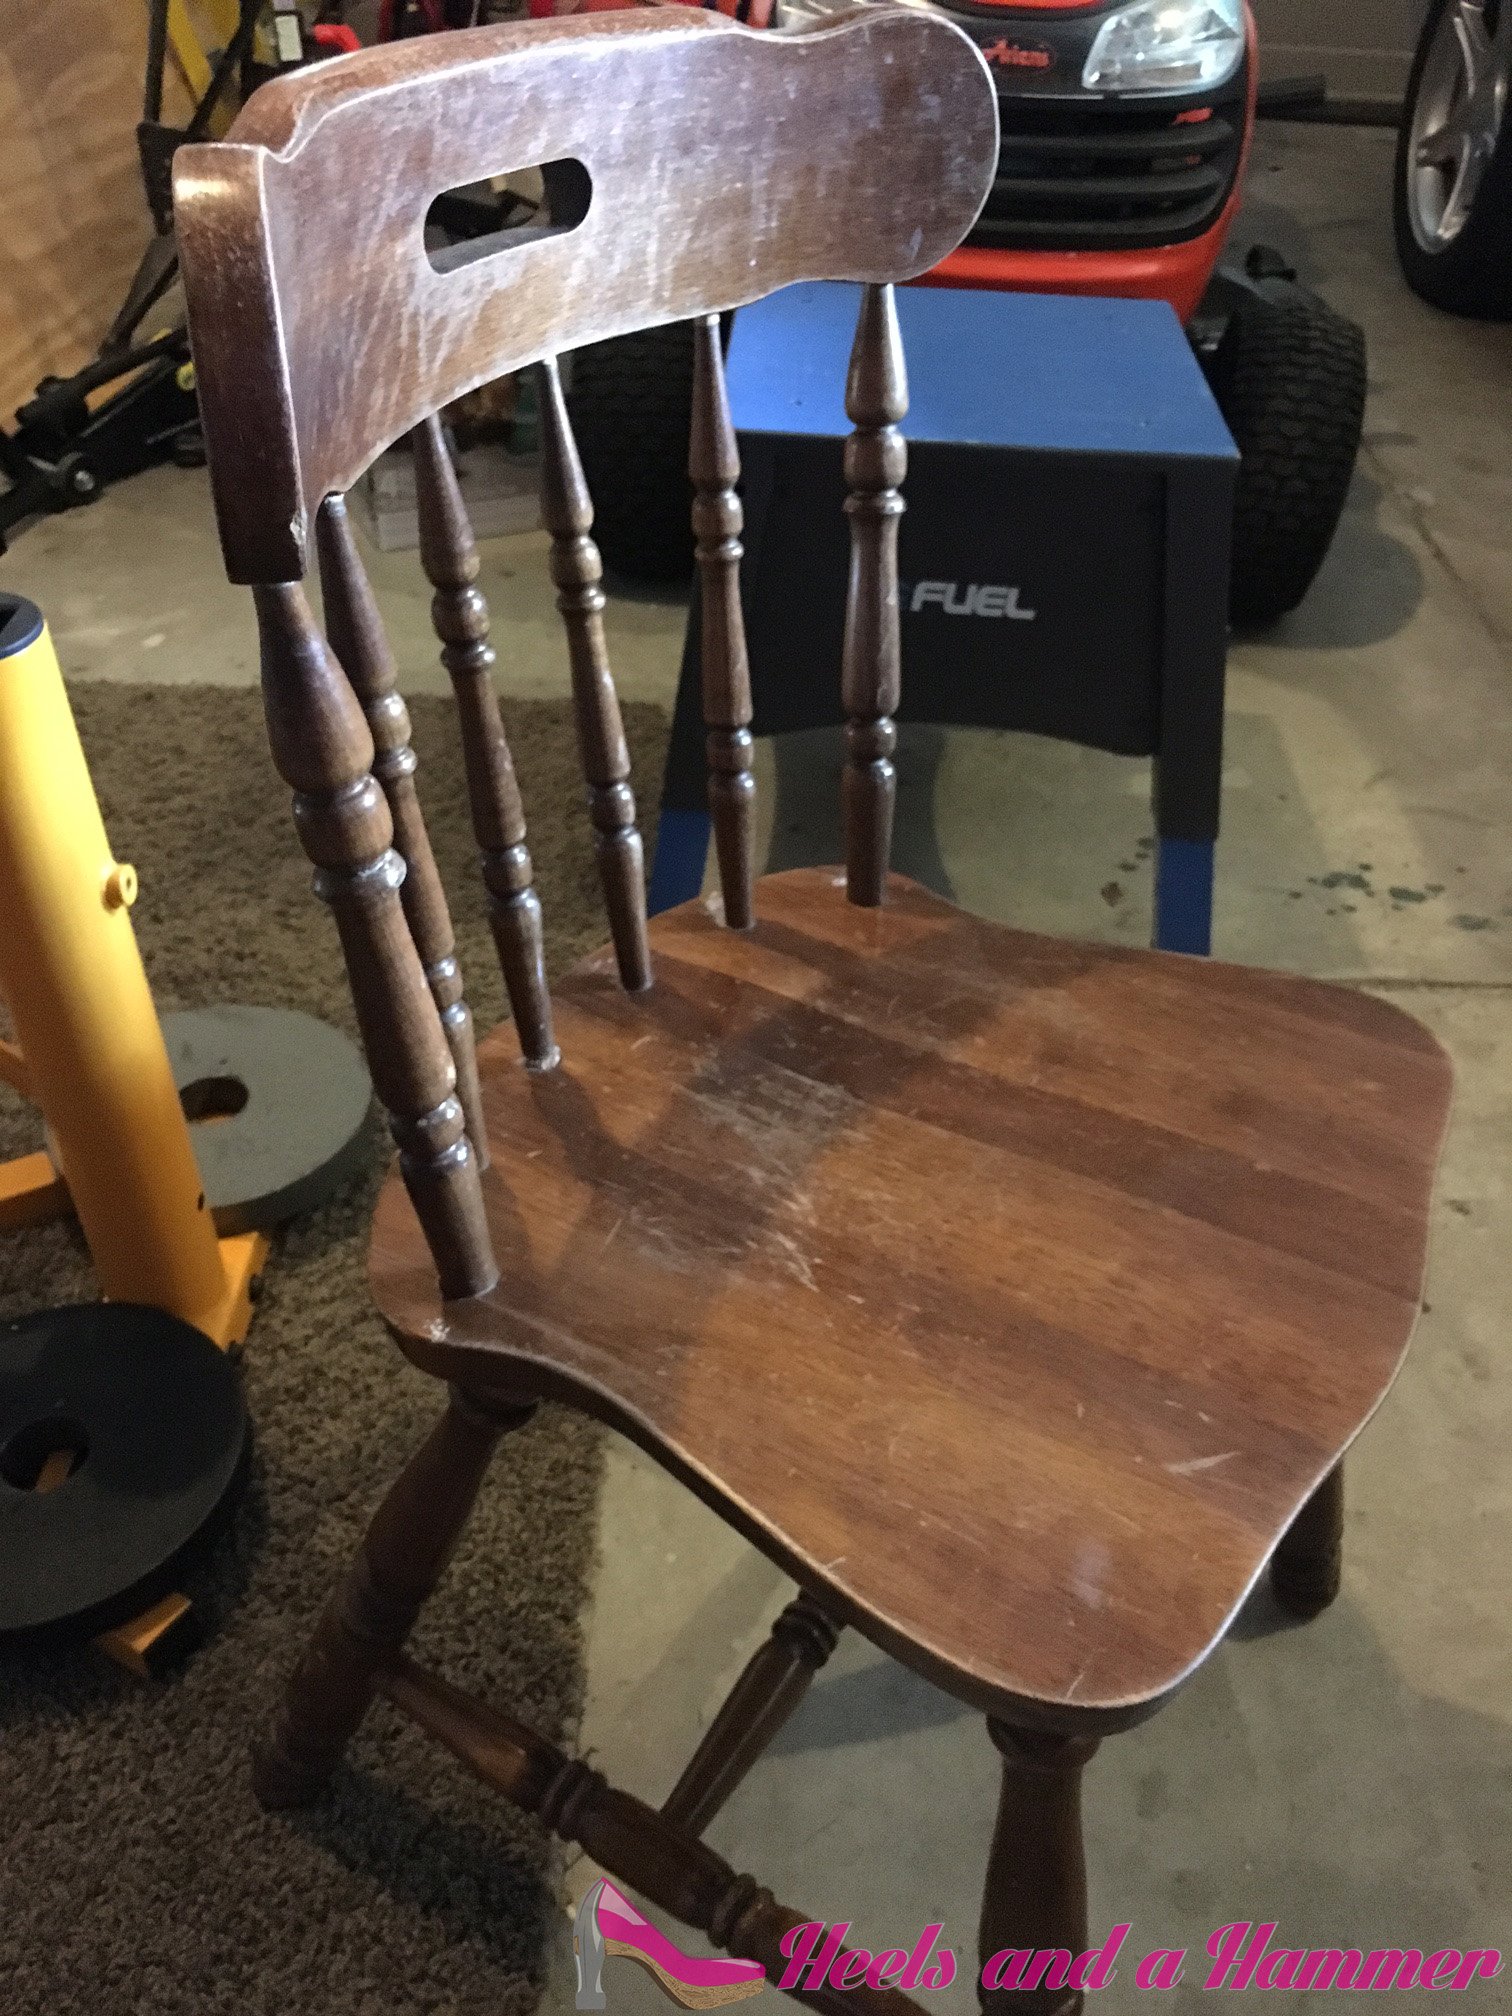
Now we are on to the inside! Whew! I bought one of the chairs pictured in the final photos on craigslist for $10.00 and the second one – I no shame- garbage picked! It was free and really only needed a little of my diy touch to fix. One of the spindles was popped out and just needed some wood glue and a nail from the bottom to secure. After fixing the chair I took both to the saw and cut off the legs below the cross bars. Then I sanded them down and one painted blue and the other coral.
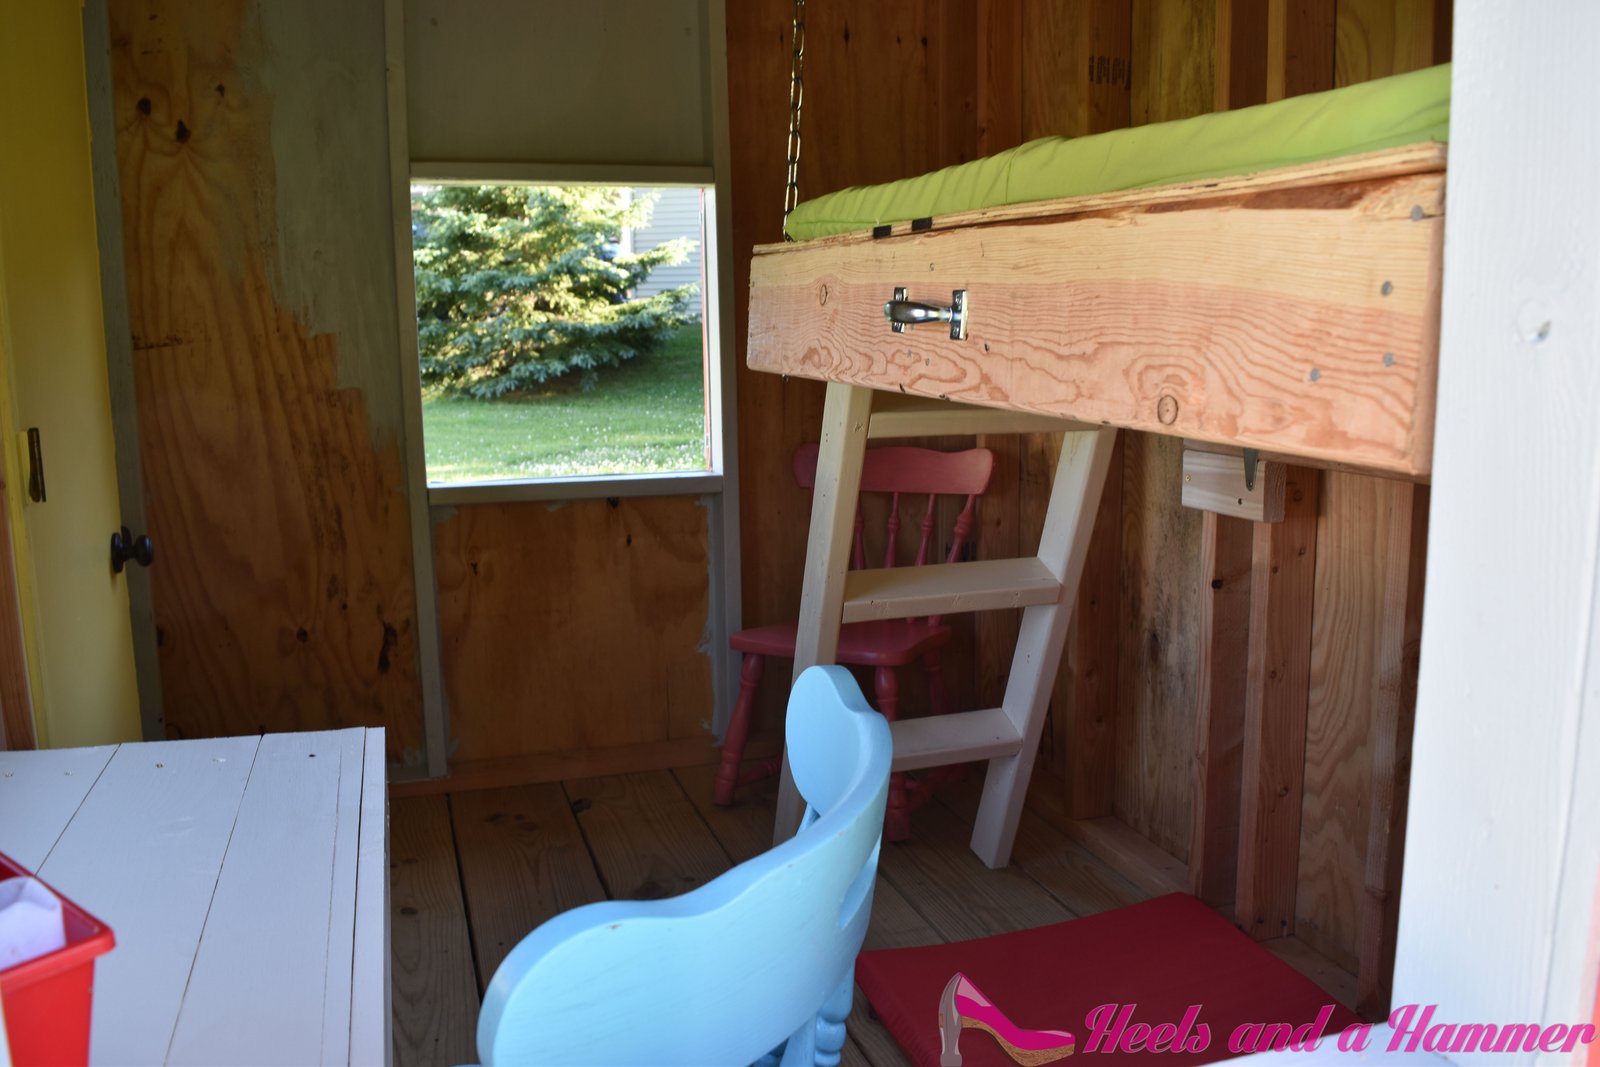
I had some help with creating functionality for the bunk. A co-worker of mine Smokinpimp.com gave me the idea of hanging the bunk by chain and attaching it to the wall with brackets. This way the bunk will be able to be lowered once the chain clips were detached, making a ton of room to play! I was having some difficulty with the angles of support boards and having it secure enough that I could trust my kids playing on top or below and no one getting injured by my own shotty work.
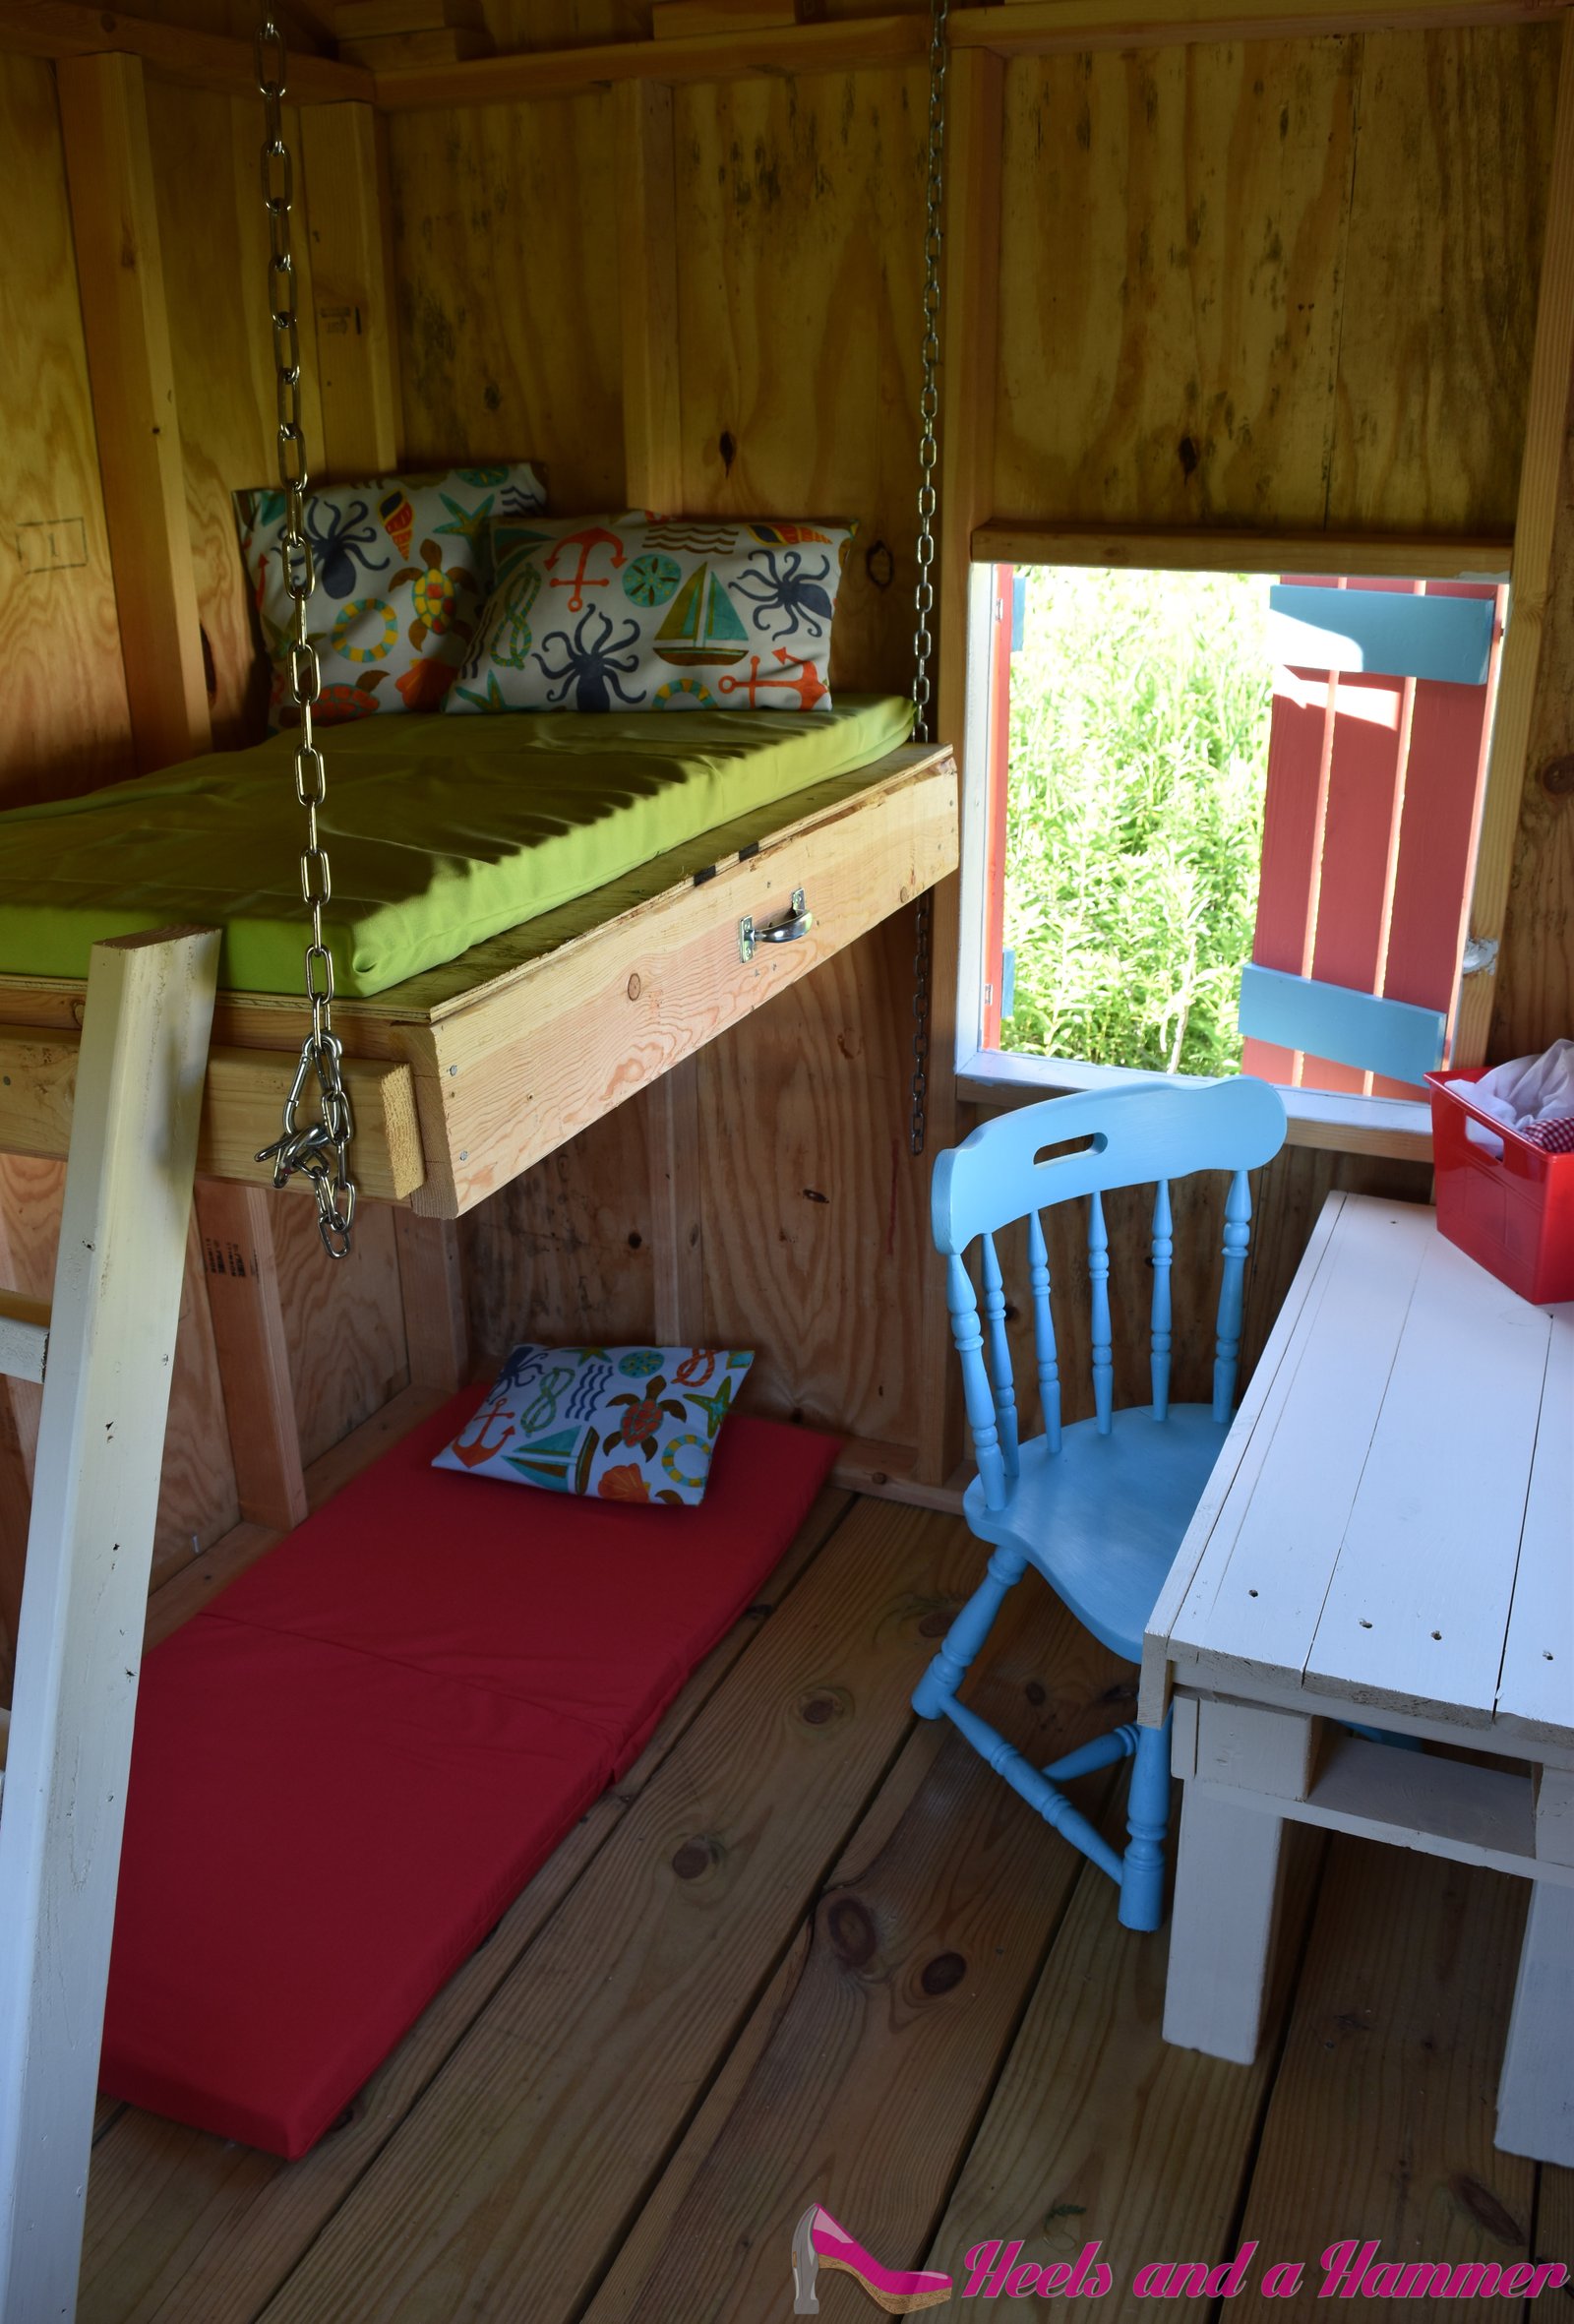
For the bunk I purchased fabric from fabric.com, some cushion from Joann’s and had some little throw pillows that have resided in our closet for the longest time and made some removable covers for all. If you go to my “If It Don’t Match, Make It” post I use this method for all the covers. This way they can be removed and washed because, kids are dirty!
Along with building the bunk, the ladder, modifying the chairs, and sewing the covers for the cushions and the pillows, I also rigged up a table. My neighbor brought home some really nice skid pallets that he intended on using but as they sat in his garage he thought that maybe I could use them for the playhouse some how. Well I ended up cutting one down just a bit in it’s depth and putting some legs on it and gave it a coat of paint to make a table! (The legs are made up of 2 – 2″ x 4″s nailed together then nailed to the table.) Thanks Neighbor!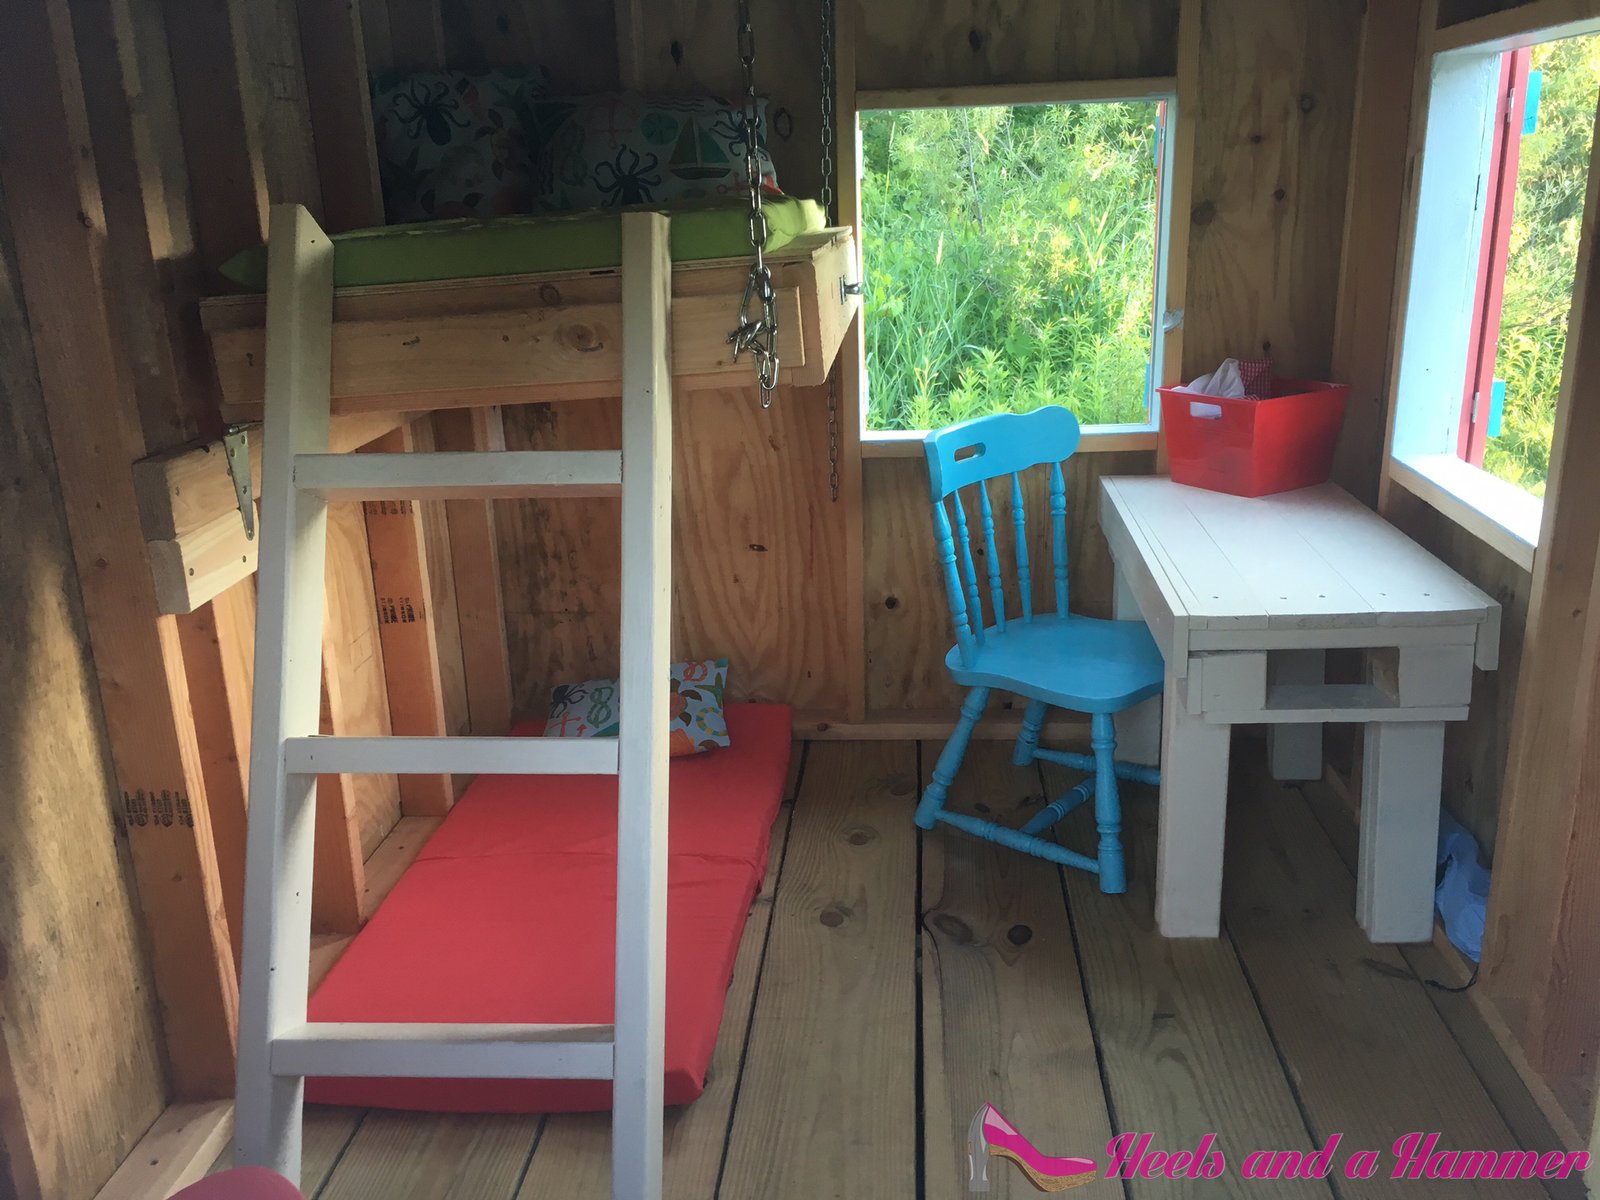
Grand Finale~
The very last step in this build was the front sign. I cut it to be the same angles as the roof peak to fit nicely on the front of the house. I then painted it the three main accent colors with my children’s names painted on the front. Once I was done with this I screwed it on and called it a day!
(Note- the deck is not painted or stained because the boards are treated and need time to dry before applying any kind of product. Secondly I did not paint the interior… I can call this job 95% done, i’ll paint the inside at some point)
Drum Roll Please~
Thanks for ready this super lengthy post and following me! You can also follow me on facebook at facebook.com/heelsandahammer/
If you want plans for this build let me know and I’ll get them out!
Everyday find the inspiration in the things you do!~
So cute! You amaze me lady!
Wow!!! I am so impressed by all of the planning and work you did to build this lil dream house. The best way to learn is to do! Lucky kids ❤ Tiny Houses for Tiny People 👨👶