This is a little DIY project that requires some fabric, some ribbon, some oatmeal, and a hot glue gun!
Our daughter was starting to get so many headbands that they were just filling her sock drawer. I needed a solution and I found my inspiration on Pinterest.
Uninformed~
The tutorial on Pinterest showed an oatmeal canister as the base for this project. However, it didn’t really show the size, and frankly I didn’t read the copy, so I deduced that one would use the smaller of the canisters, as to not stretch out the headbands. You need the larger… (my fabric ended up being thick enough that it does hold the headbands on it.)
Prep Work
I went to Joann Fabrics in town in search of the fabric and ribbon and then when I stopped in Michaels I found the pedestal to put the finished product on. I believe it is supposed to be a mini cake holder. I found some cute decorated burlap which goes well in Savannah’s room. My total at the register (with a coupon) at Joann’s was just about $10, and the pedestal at Michaels was five and change. Not a bad for a really cute DIY project. As a side note, I do have enough of the decorated burlap left over and the regular pink ribbon to do another headband holder with the larger oatmeal canister. The beauty of a project like this is the customization one can do. You can buy virtually any fabric and accessories to coordinate with the space.
The Build
First thing, I emptied the can of oatmeal into our larger, and half empty one so I didn’t waste it just for the purpose of a DIY project. I then cut a rectangle of fabric that would fit around the can having about an inch slack to overlap, and about two inches taller to have an inch top and bottom to fold over. I then put a couple of dabs of hot glue; top, middle and bottom and pressed the burlap to it. Next step was just putting a couple dabs here and there around the canister and wrap the fabric. I folded over the edge to make a clean line and glued that down as well. Then I cut two circles to cover the lid and the bottom of the can with the same fabric. I then glued a solid hot pink ribbon around the bottom and top of the can. The finishing touch was to glue on the decorative ribbon around the base and put a dollop of it on the lid. The only tricky part was that the burlap is not a solid fabric so it was a little hard holding down the fabric and not burning my fingers with the glue seeping through the fibers.
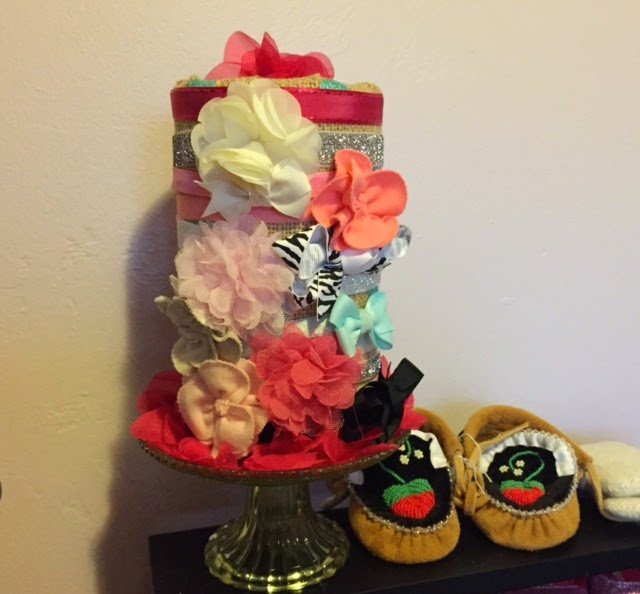
I will most likely make a second one because I want to space out the headbands more so you can see the burlap, plus I’m sure our daughter will get more headbands and I’ll need more room anyway.
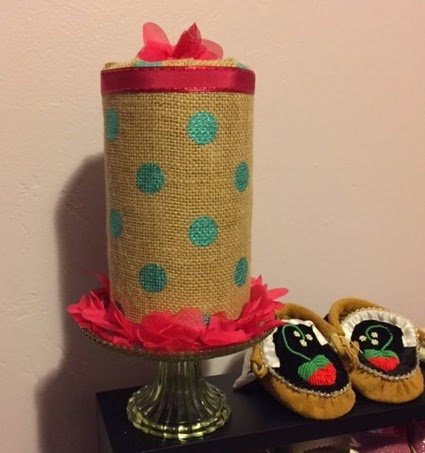
So here is the final product~ super cute, easy and inexpensive!
Without Pretties~