Hey DIY Enthusiasts,
My sister had wanted to organize her two boys art, documents, and other paperwork per either school year or other stuff of importance. She knew that I had a filing cabinet that I started a redo on but didn’t follow through on. She requested that I DIY’d it for her boys, so as a good aunt does, I did! This project literally took me just a few hours to complete. Since I was completing this project for her home I requested some input regarding the overall color and what type of image she would like to cover the doors. I searched amazon for a few different ideas and sent them to her. Since both her boys, C and C, like geography she chose the map wrapping paper. As far as the overall color I suggested a red color, shades of red are her favorite color, and she loved that idea. So… here we go!
Process this:
So first step I took the cabinet apart, including the lock, and gave it a good wipe down and sand down.
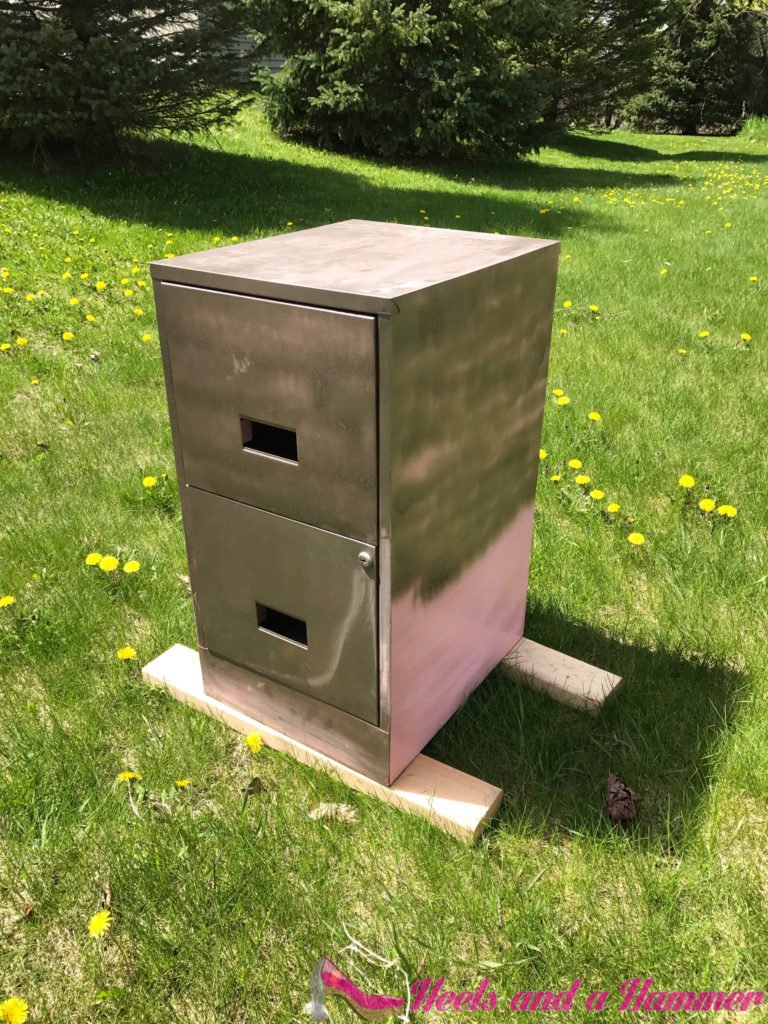
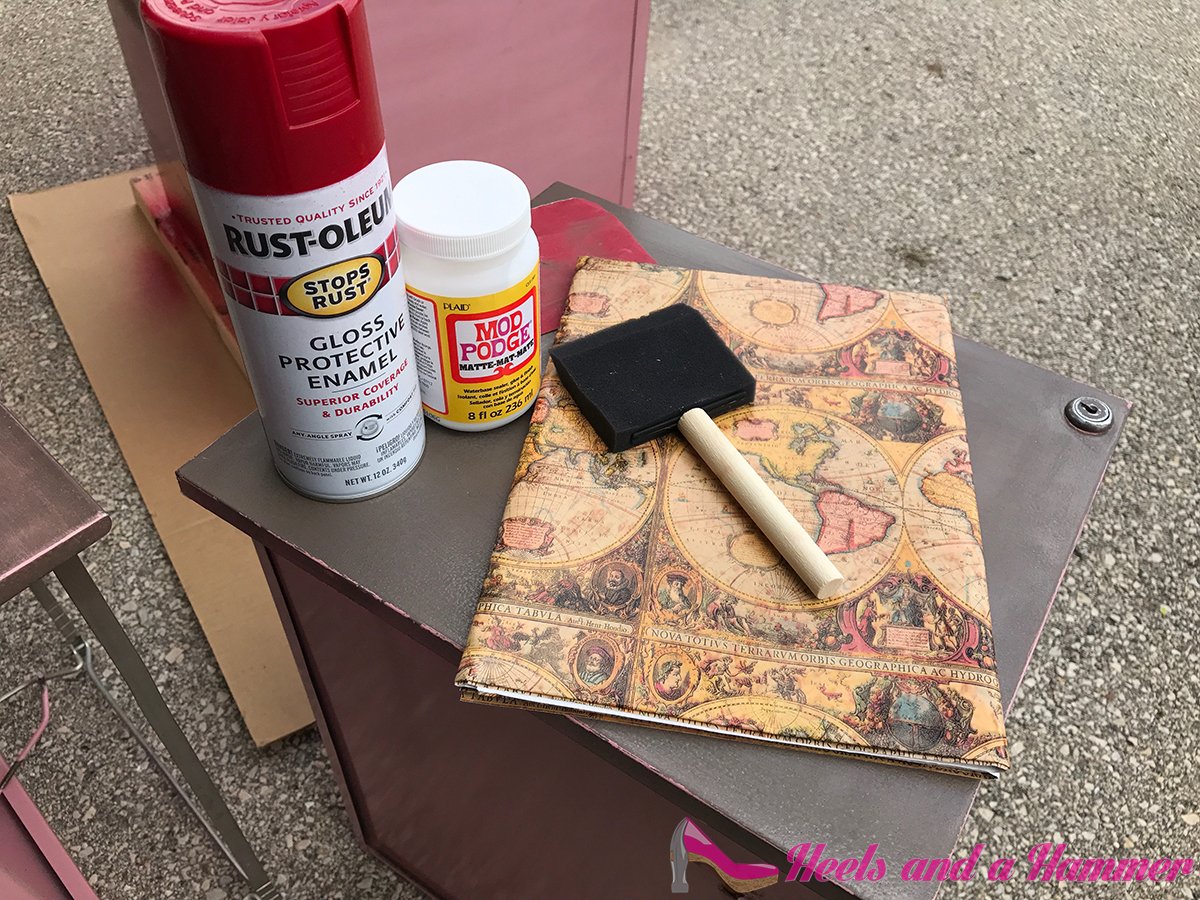
Secondly I sprayed the entire cabinet with the choice color spray paint then let it dry, and went back for a second coat. It is important to make sure you let each coat dry completely as to avoid the little tiny air bubbles which will ensure the completion time much longer. If this happens you must sand down the bubbling of course after the paint has dried, wipe down any paint dust completely, let it dry completely, and re-paint. Incidentally I did not take any photos of the entire cabinet sprayed without the drawers in.
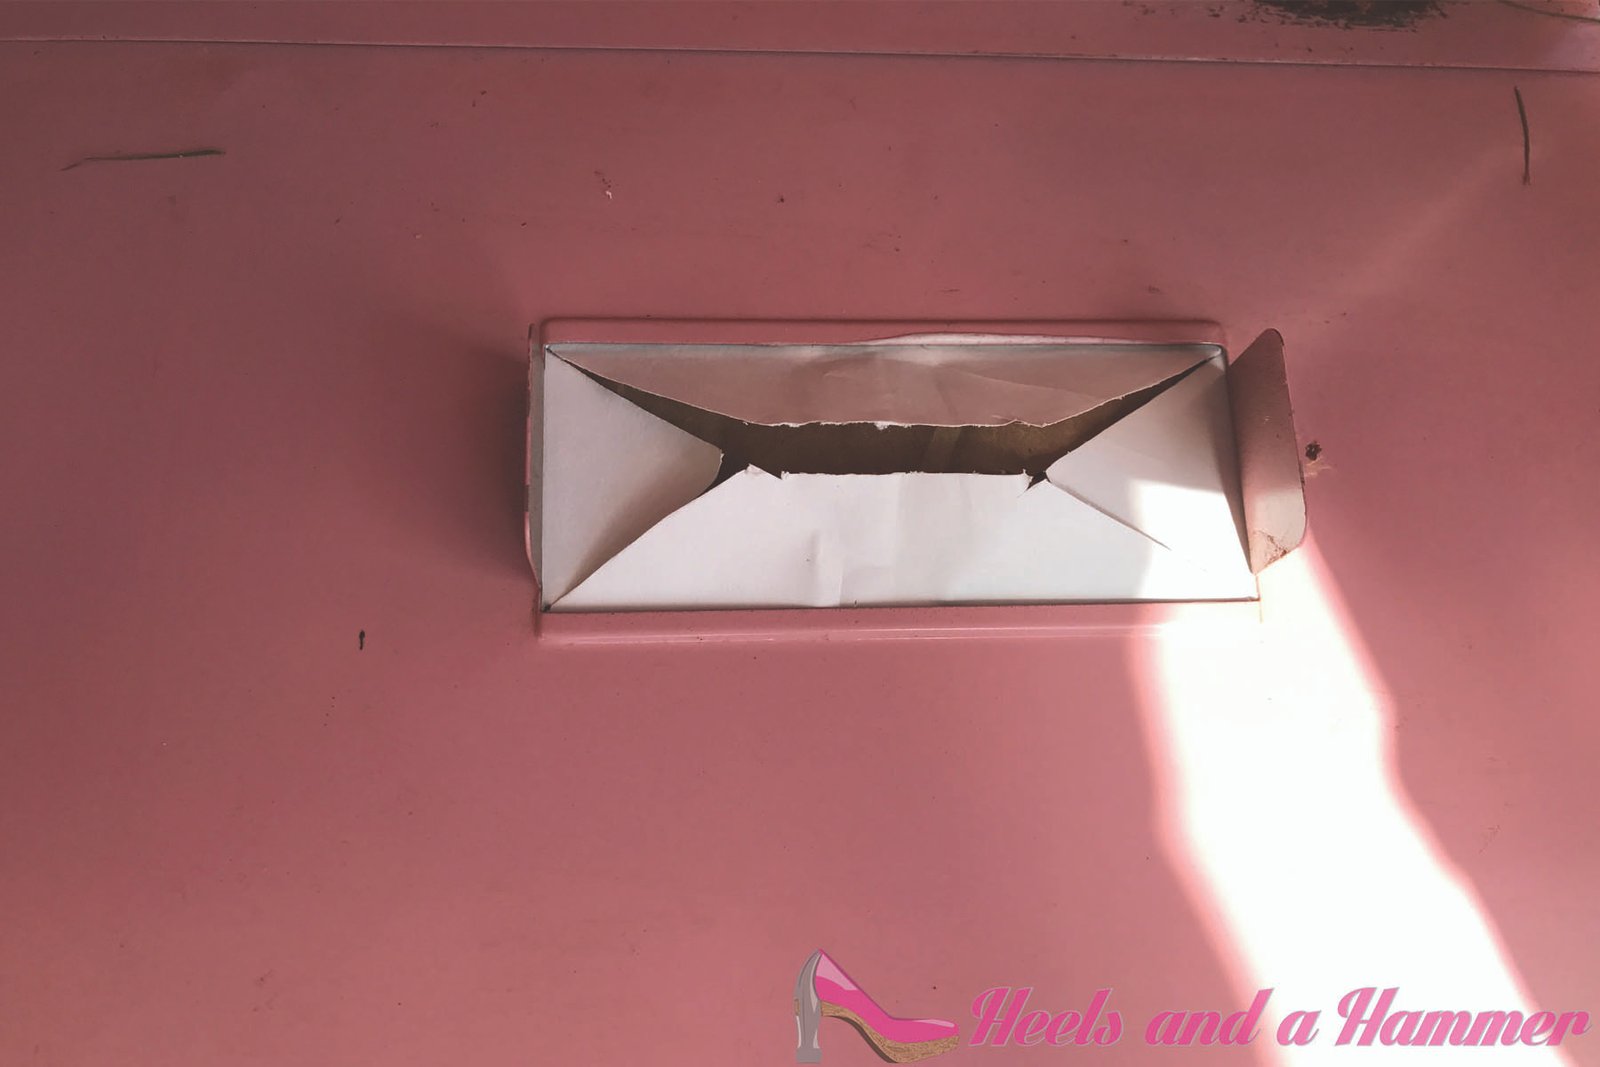
Thirdly I cut out the map wrap to put mod podge on the cabinet door fronts and carefully laid the map wrapping paper on, squared up as much as possible and mod podged over the top to create a seal.
Little Details~
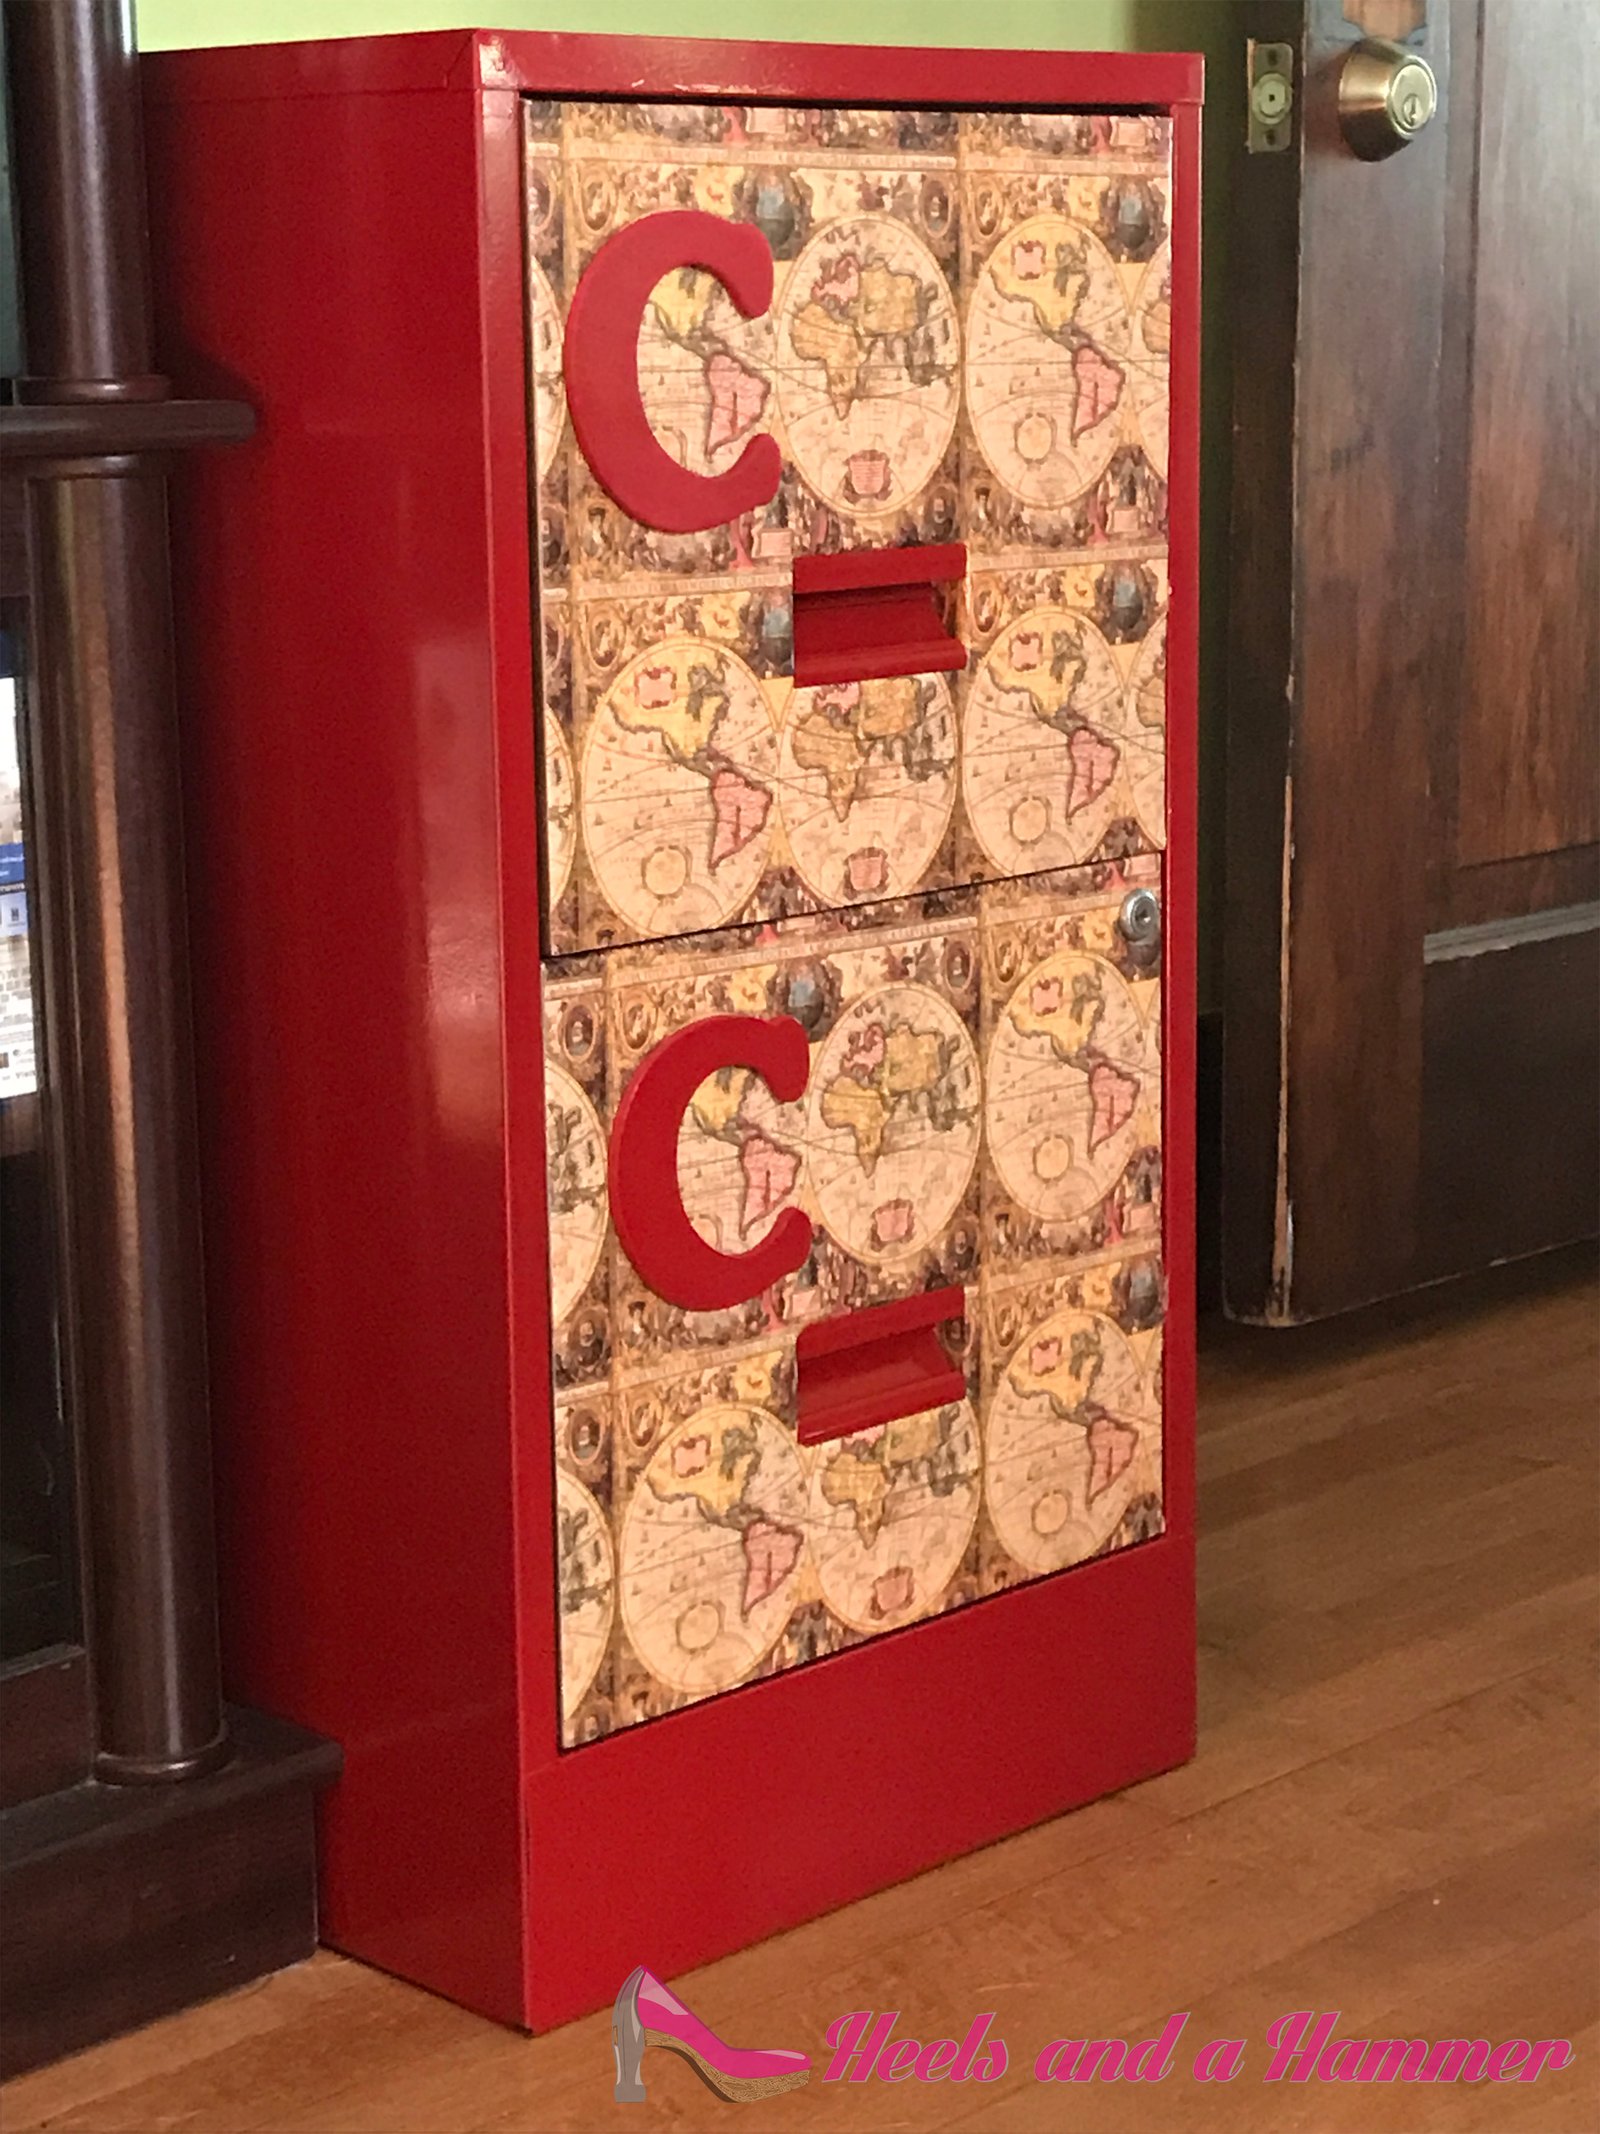
After the exterior of the filing cabinet was painted I then painted some wood letters that I purchased at Joann’s and the handle inserts the cabinet red to match the cabinet.
And Voila~ The final product
Thank you and look for more projects soon to be shared!
Cost Break Down~
Filing cabinet: $0 (had)
Sand paper: $0 (had)
Spray paint: $7.74
Mod-Podge: $0 (had)
Map wrapping paper: $8.60
File rails: $6.00
Foam paint brush: $0 (had)
Wood letters: $3.28
Grand total of: $25.62
Totally worth it to preserve things of importance for your children.
(* Doesn’t include the cost of file folders which can be purchased at a reasonable cost at Office Max, Office Depot, Target, or any other big box store.)