Happy Monday All!
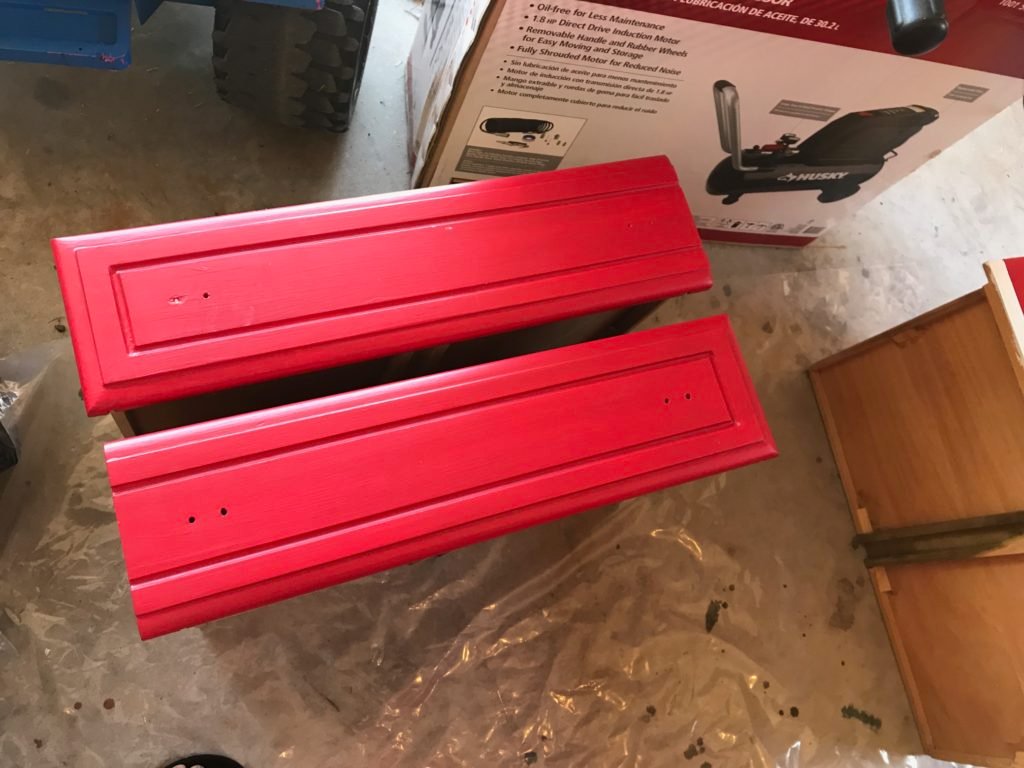
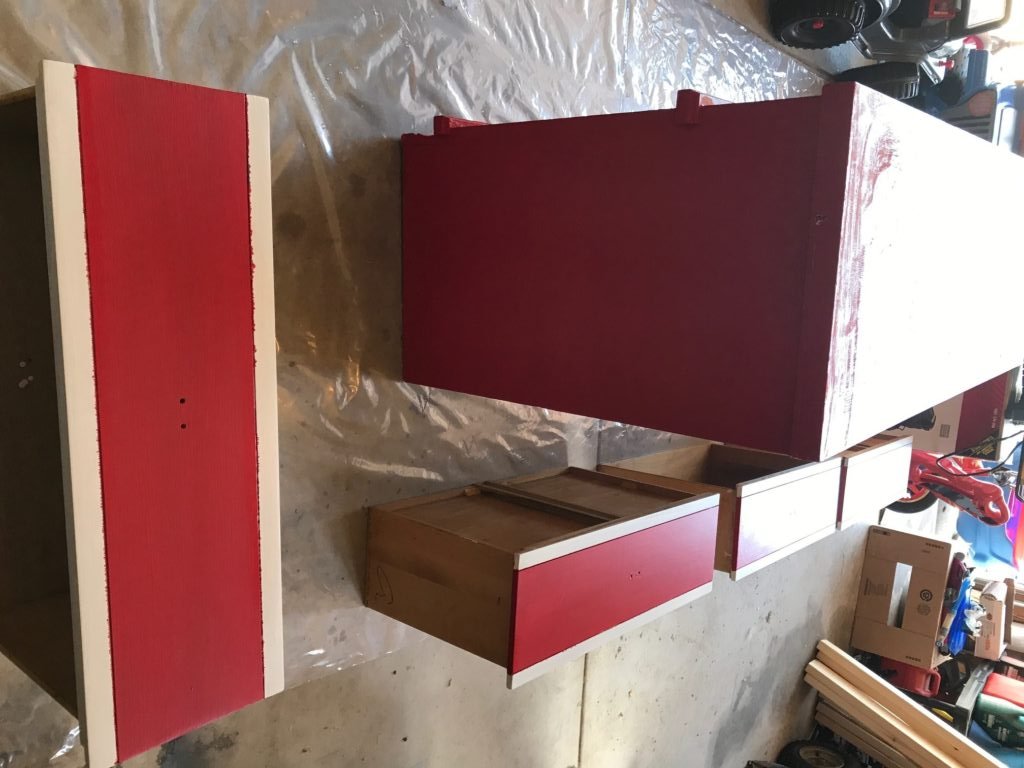
This is the second dresser that I have refinished, this one was for my son. This dresser was a bit more complicated due to it’s history~ It was a ‘fun’ yellow stain/sealant. Then it was painted black by yours truly. Next I painted it red and white for my son to go with his room theme of things in the car’s world, red, yellow, green and such. Once I was done painting it I, and my husband, hated it. So instead of getting moved to the bedroom to house all our little ones cute little clothes, socks, and jammies it went to the garage to sit for nearly 5 years. We bought a dresser from target to do the job but after a few times of JLS climbing up on it do do what boys do best, the drawers broke and was nearly impossible to open or close.
Momma Had Enough!
This late summer I decided it was time to clean out the garage a bit and get to work on that old – but really well made- dresser. At first the plan was to paint the dresser a brick red with staining the dresser drawer fronts… But after stripping the dresser and sanding I just didn’t feel that did the dresser justice. So I convinced my son to let me just stain it a rich brown color.
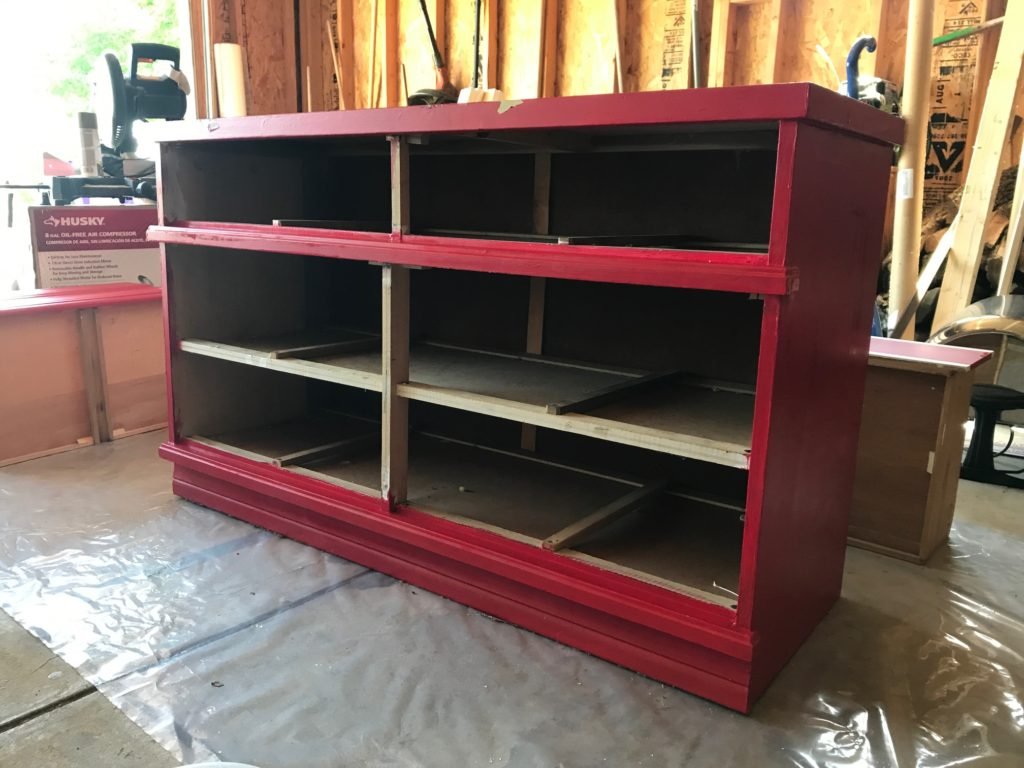
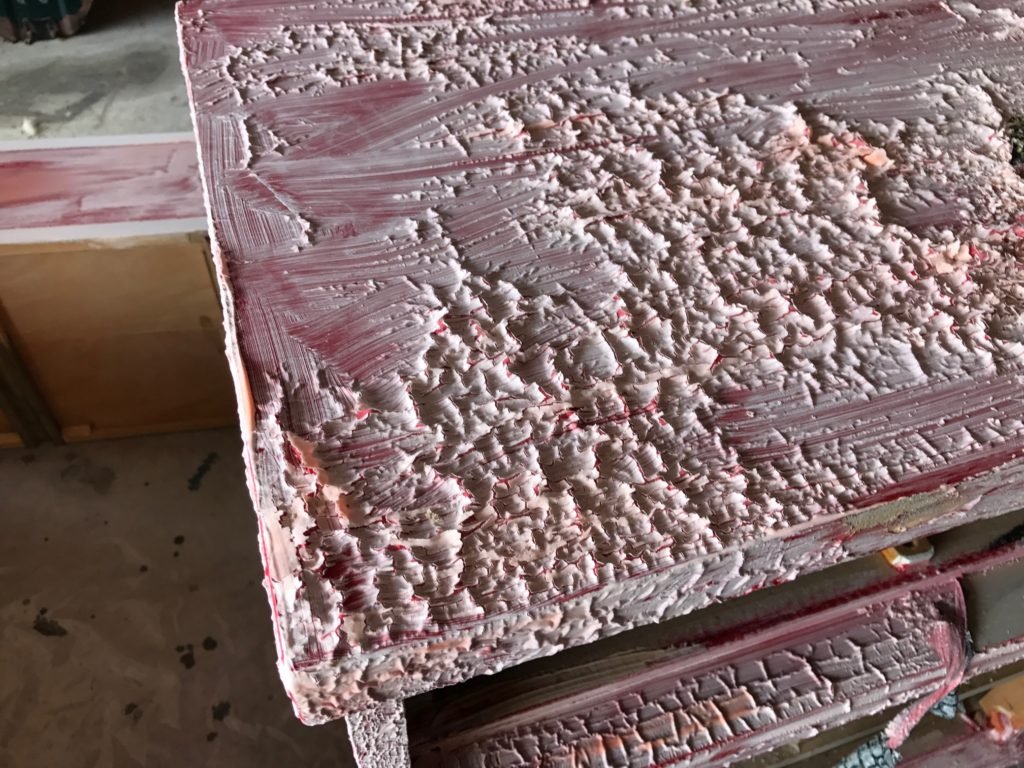
Here are a few before pics… it’s not a pretty sight!
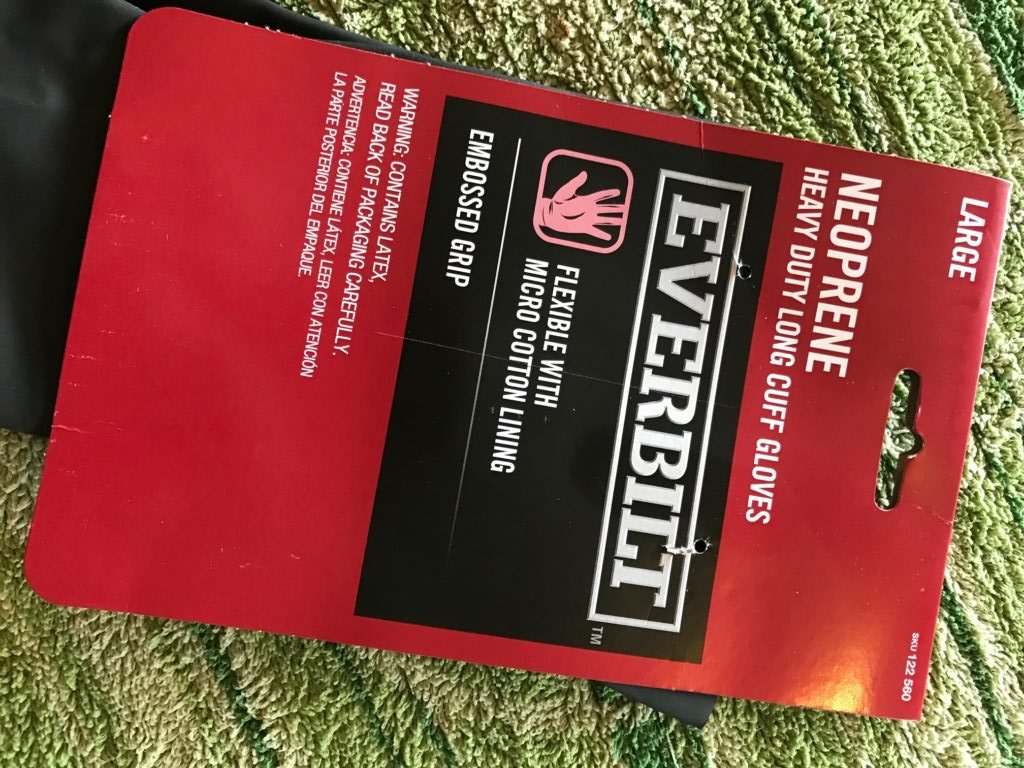
Here are a few picks of the stripping, sanding processes. Along with Citristrip I had to go back in and use some heavy duty stripper… Here’s the link… PS Make sure you buy these gloves to use the heavy duty stuff! Eats through everything else!


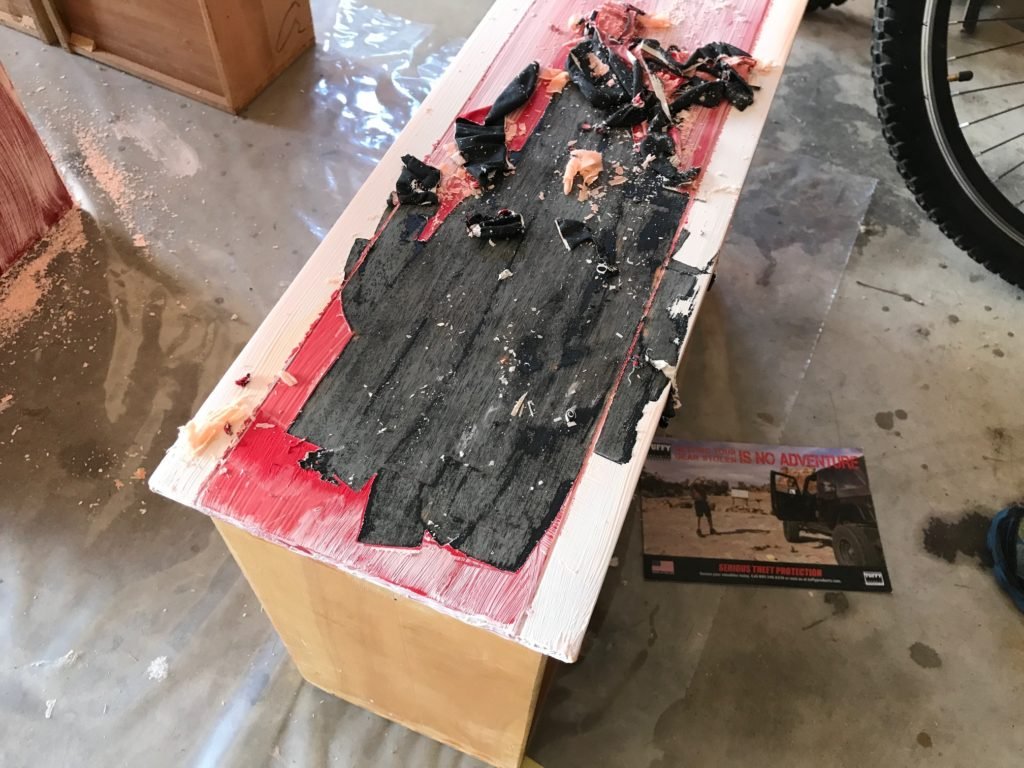
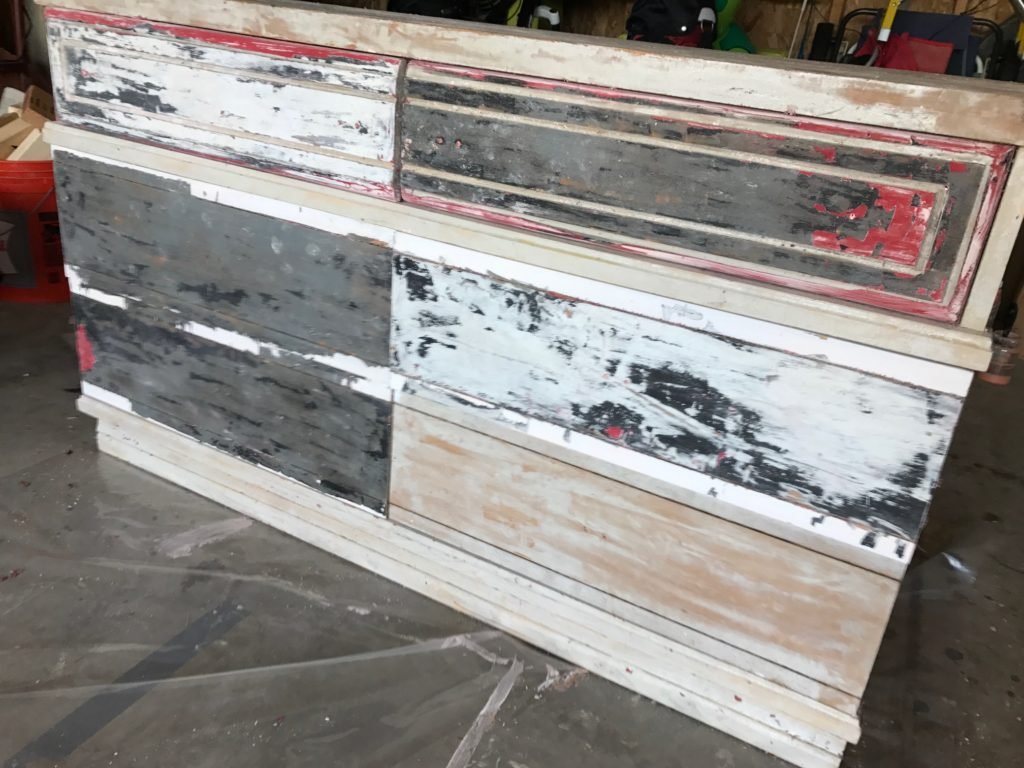
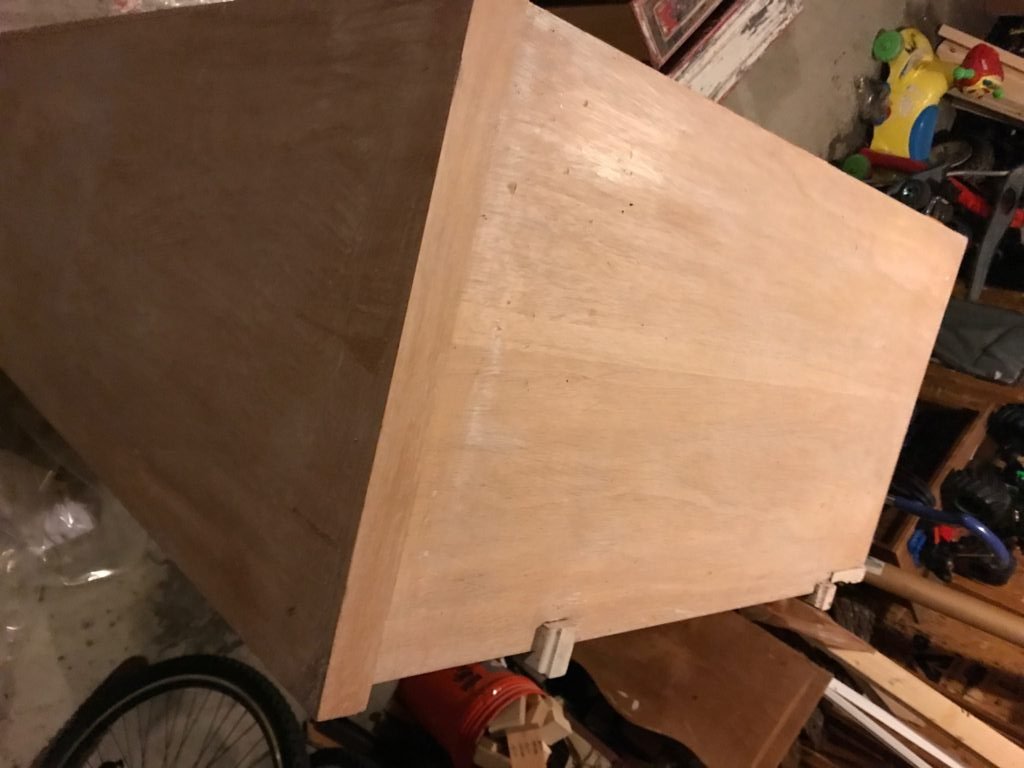
So after all that fun stuff we got to sand and sand and sand some more! This project of course couldn’t be complete with out it’s share of minor fails. First I was trying to get the top layer of veneer off the top of the dresser and ended up saying “forget it” and sanded it smooth. Another hiccup was that I thought I could peel off the top maybe 1/2 inch of wood and reveal the beautiful wood that lay beneath… I called over my husband to show him this great discovery when mid show and tell I discovered that I was actually pulling up the entire top. Stop! EEk! Way to go!
After a brief regroup session I got out the gorilla glue and clamps and put back together what I had almost demolished. I decided this was a great time to take a break and work on something else, besides I needed some more sanding disks… so off to Homedepot I went.
I sanded down the dresser with 220 grit sanding paper. I had to hand sand in many spaces due to tight cornering and curves. Other places like drawer fronts, top, and majority of the sides I used my power orbital sander. Once I went over the entire dresser with 220 I went down to 320 for a “smooth as a baby’s bottom” feel.
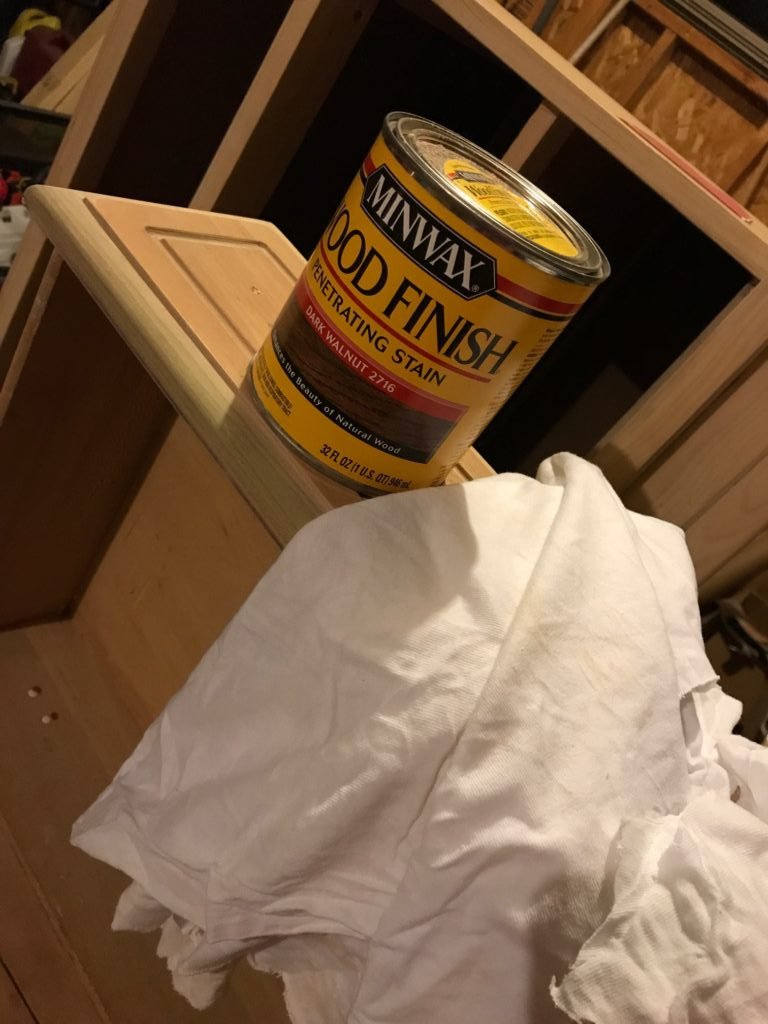
Now to Stain!
I think that when I get to this stage I’m so happy because I feel like the main work is down and it’s on to seeing what the final product will look like even before it’s really done. Here’s a shot of my clean drawer front, staining rag and stain.
Once all was stained I of course had another hiccup… some of the glue from my near disaster hadn’t come off in the sanding stage. So after sanding again and once again for good measure, I stained again.
After staining two coats I took to the Polyurethane. I did two coats of poly with a light sanding with 220 in between each coat.
Once I was done with the two coats of poly and ample drying time I could do the finishing touches – the DIY pulls.
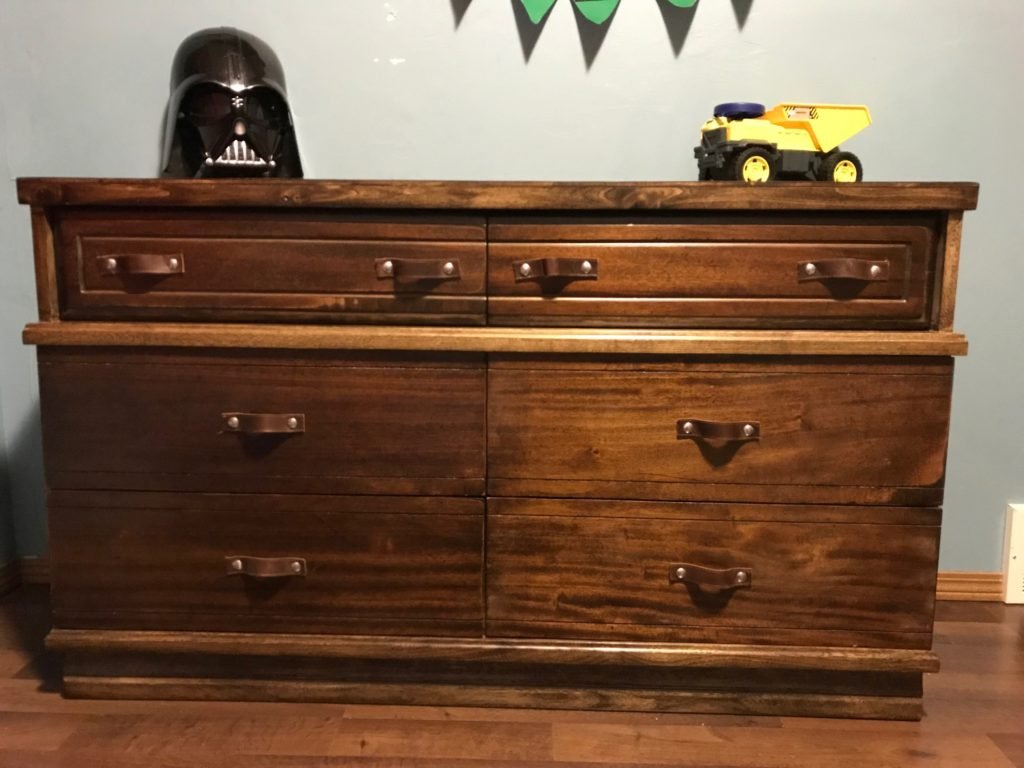
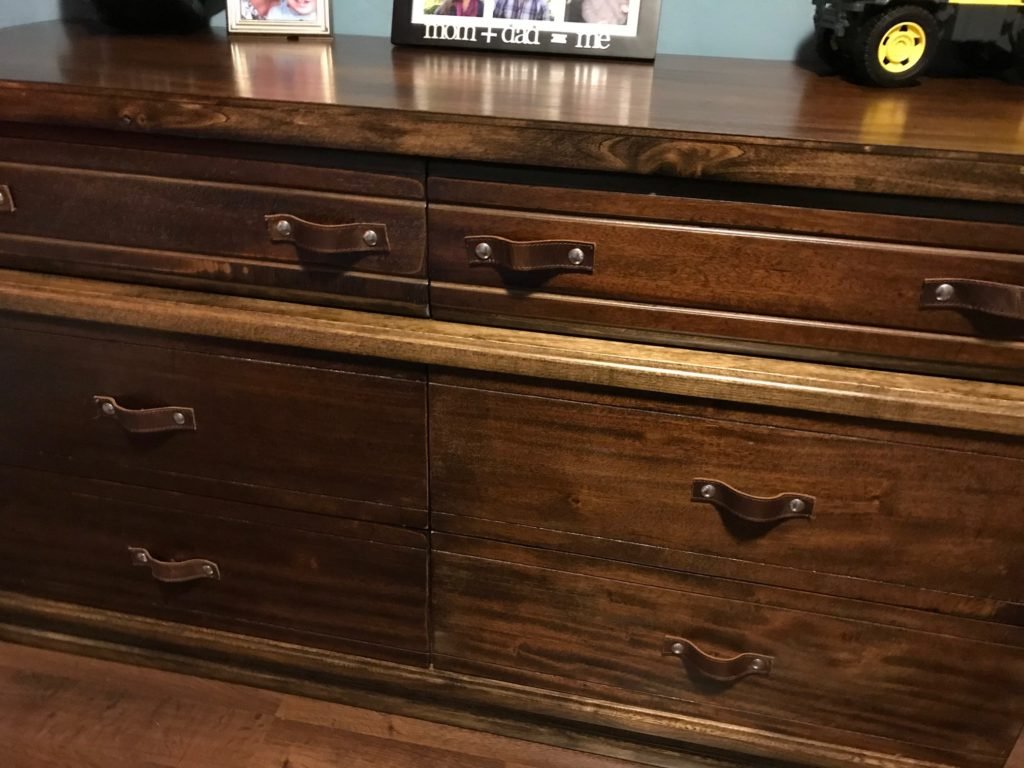
I wanted this dresser to be a bit more masculine since it was going to be for my son and of course in hopes that he would keep this dresser for a good long time. I wanted to… wait for it… use leather belts for the pulls. SO in the search of finding some leather belt that looked worn with out costing a fortune I found a long leather strap in my closet that came with my beautiful bag. This extra strap was design to allow me to use my purse as an over the shoulder bag but I knew I never would so didn’t hesitate to cut it up! I measured the length that I wanted each strap and started to cut. I burned the ends just because of the stitching and used a leather punch to make my holes. I used lag bolts with a nut on the backside to secure each drawer pull. And here is the final product! I’m really happy with how the dresser turned out and my son says he loves it just the way it is!
Finished!
Cost breakdown…
Dresser : $0.00
Stain: $6.48
Carriage Bolts: $11.36 (qty. 16)
Nuts: $1.96
Leather Strap: $0.00
Poly: $0.0 (had from All Dresser-ed up)
Sanding disks: $ 15.94
Citristirp Stripper: $10.78
Mineral Spirits: $4.48 (virtually unused)
Klean Stripper: $8.98
Neoprene Gloves: $8.45 (includes the Nitrile gloves as well)
Rags: $4.28
2 paint brushes to apply Poly: $2.22
Coors light: $13.92 haha
Grand Total: $65.95 sans the Coors~ You couldn’t buy a dresser for this price in the beautiful “new” condition that I’ve restored it to.